

How to apply a ceramic coating?
If you love your ride, you will definitely be able to apply a ceramic coating on your own, especially if you’re provided with a few basic detailing rules. We have prepared them all for you to efficiently cope with this challenge and provide protection and gloss of the paint for many months.
Without further ado, let’s get to work.
Step 1: Prepare yourself and the workplace
First, prepare protective clothing and accessories: a mask and gloves. You will come into contact with chemicals that can damage your hands and respiratory system, especially if you work in a poorly ventilated room.
Prepare your workplace as well. The best conditions are the temperature around 18-22C and humidity at 50-70% (check the exact requirements of each particular coating).
Always try to apply the coatings in a closed room, with good ventilation, lighting, and enough space to work freely on the car.
Step 2: Prepare the paint
For the coating to cure well on the paint and provide the visual and protective properties guaranteed by the manufacturer, you must clean the car of all dirt. How to do it?
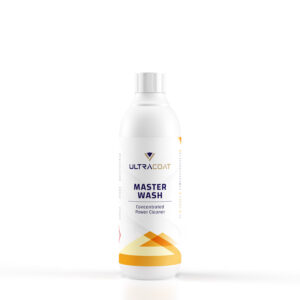
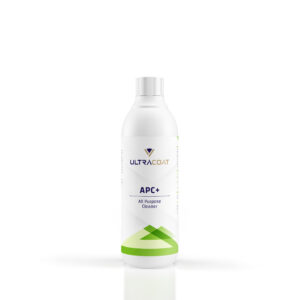
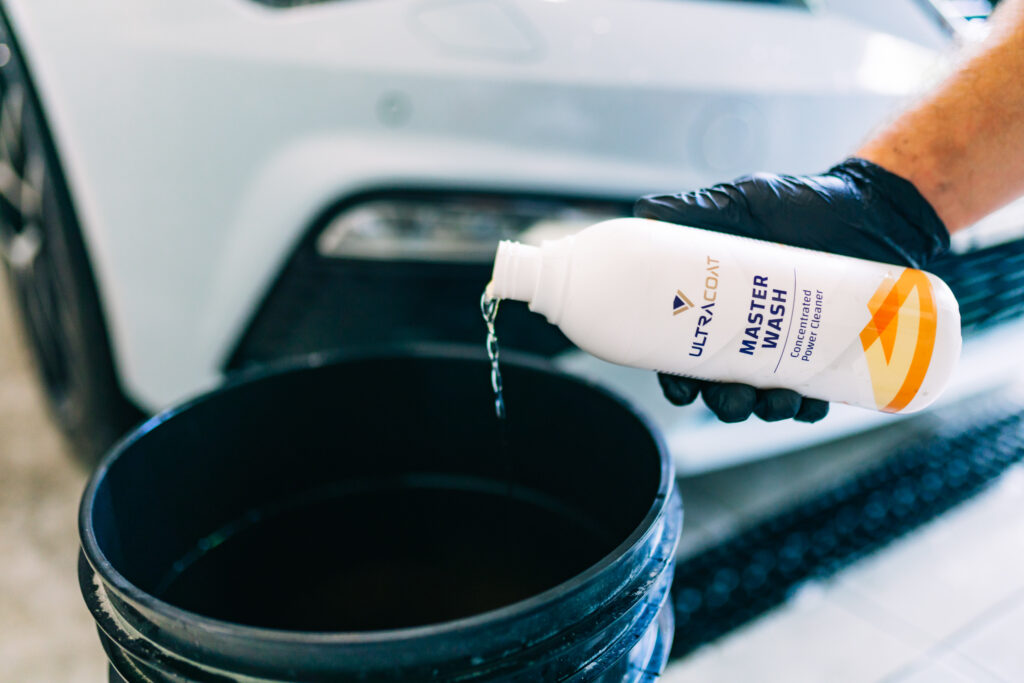
- Begin by pre-cleaning the car (pre-wash) with a dedicated cleaner such as Master Wash. Spread it on the paint’s surface, wait a few minutes, and then rinse all the foam thoroughly.
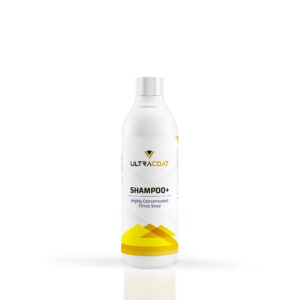
- Wash the car using the “two-bucket” method. First, prepare two containers, one with water and the other with a shampoo solution (proportion 50 ml of the product to 10 l of water). Then put on the glove, soak it in water with shampoo and wash the given part of the car. Next, rinse it in water and soak in shampoo again to clean the next part.
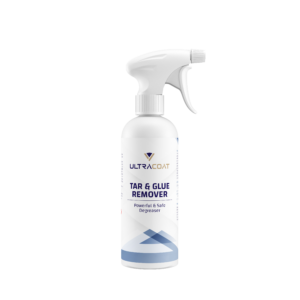
Repeat the process until the entire paint is clean. Finally, rinse off any shampoo residue. - Proceed to decontaminate the paint to remove dirt that cannot be removed by ordinary shampoo, e.g., pieces of asphalt or glue. Next, use Tar & Glue Remover and spray it on parts where you can still see dirt. Then wait 1-2 minutes and rinse off the dissolved dirt.
- When the paint is free of dirt, rinse it again, and proceed to the second last stage, polishing. You will get a better visual effect after applying the coating. Prepare the machine, soft pad, and polishing paste. For cars with thick varnish, use a cutting paste; for cars covered with soft acrylic, use a polishing paste.
Apply the paste on the paint, spread it with a sponge or the machine turned off, and then start polishing. Make slow movements from top to bottom and left to right – just a few swipes. To solidify the polish, you can repeat the process using the finishing paste.
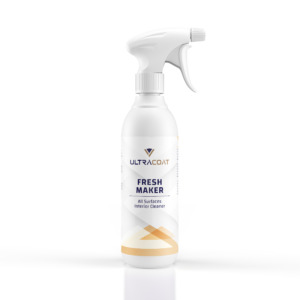
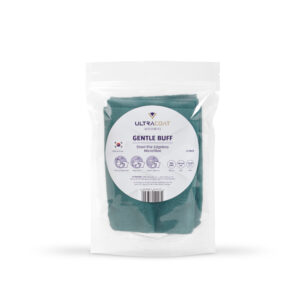
- The last step is to degrease the paint. To do it, apply a dedicated product to the paint and spread it thoroughly with microfiber. You will remove any residues of chemicals used in the previous steps, including the paste.
Way to go! Now you’re done with the tedious and time-consuming part, and it’s time for the cherry on the top.
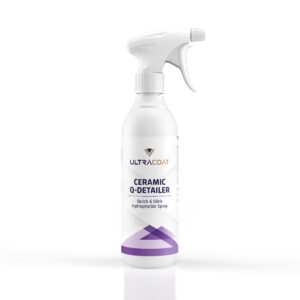
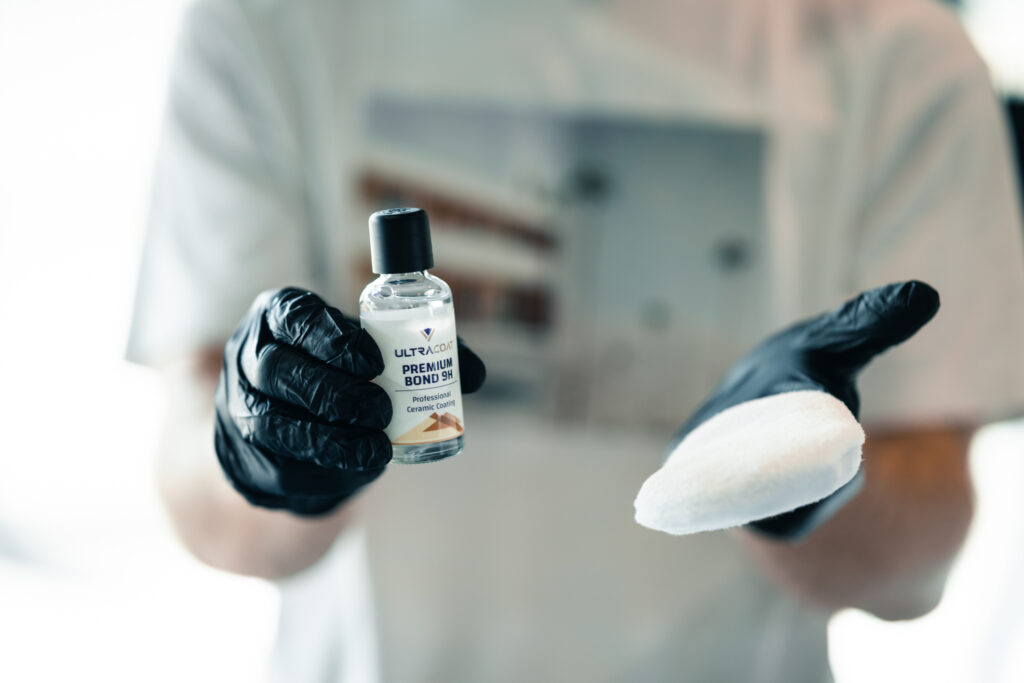
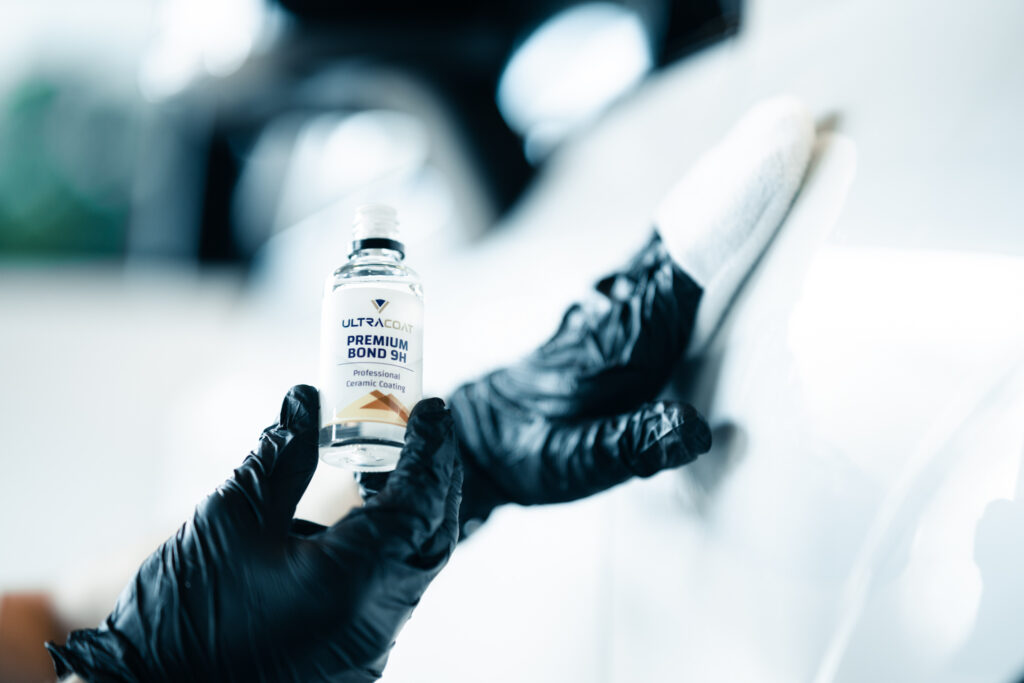
Step 3: Apply the ceramic coating
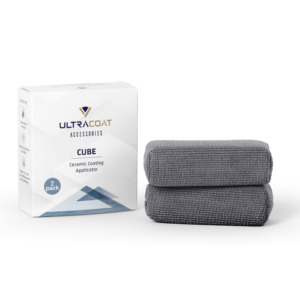
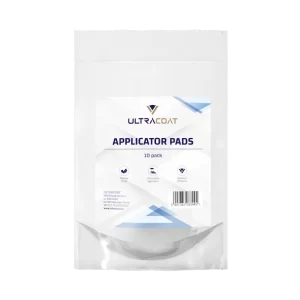
You will need a fresh microfiber cloth, a dedicated applicator, and, of course, the ceramic coat itself.
- First, shake the bottle with the coating and put a few or a dozen drops (depending on the instructions) on the applicator. Then spread the product on an element with an area of approx. 50 cm2, which is the size of an average microfiber cloth.
- Apply the coating by wiping the paint with the applicator left to right and then top to bottom. On larger elements, e.g., a mask, try to create a square shape in this way – it will make it easier to recognize which part has been covered and which has not. While covering smaller elements, such as a fender, try covering the whole surface at once, moving within their edges.
- Wait for the initial evaporation of the solvents (you will recognize it by the “iridescence” effect on the surface) and remove the excess product with microfiber. Then turn the cloth over to the clean side and wipe the cleaned area for the last time.
- Repeat the process for every part of the car until it’s completely covered with the coating. We recommend starting work from the roof, applying the layer to the entire front, and then repeating the application around the car. You can apply the coating from the long edge of each element and work your way up gradually. This way, you won’t get lost in the following steps.
Step 4: Cure the coating
Finally, leave the car in the garage for 8-12 hours, depending on the recommendations for each product. Thanks to this, you will provide the coating with optimal conditions to combine with the paint.
How long does it take to apply a ceramic coating?
The application will take you about 2 hours, but some factors may extend or shorten this time.
One of them is the durability of the coating: the more durable, the longer it takes to apply. However, suppose you get someone to help you, the application of the base coating (and subsequent layers) will not take more than an hour.
However, no matter how much time you spend on it, it will be a valuable investment. You will gain peace of mind for at least a dozen or so months and often several years. You will save a lot of time when you wash the car and money that you would have to spend on repairing damaged paint.
Not to mention the satisfaction of having a beautifully shiny car, resistant to rain and dirt. 🙂
Not just the application
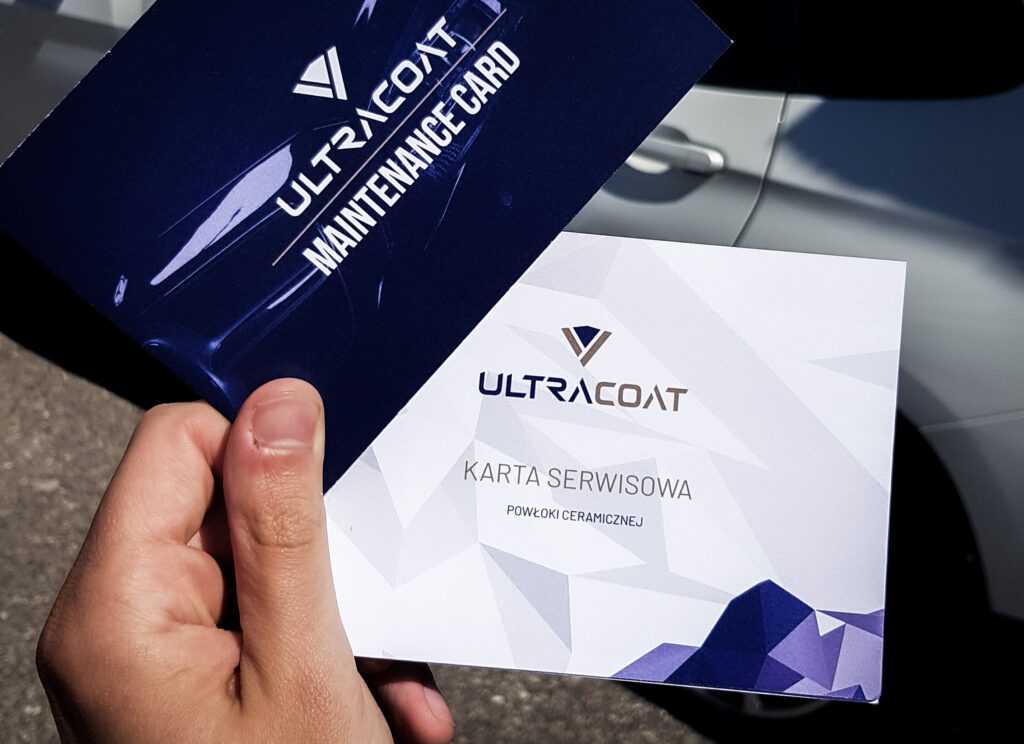
Finally, it’s worth noting that the one-time application of the coating doesn’t protect the paint forever. The layer requires regular servicing, approximately every 6 months or 10,000. Km of mileage. However, servicing is more straightforward and cheaper and will extend the protection period (and your peace of mind) for months.
In this article, we described step by step how to service the ceramic coating.
Are you interested in our products? Write to us!
Subscribe
0 Comments