


How to maintain a ceramic coating?
The shiny paint of a car leaving a showroom or a detailing studio doesn’t last forever. You can extend the effect of a brand new ride by applying a ceramic coating, but its durability has limitations and is worth maintaining.
So how to do it properly?
Is ceramic coating maintenance a necessity?
Even the most durable coatings, with a life cycle of up to 100,000 km, have an expiry date. Therefore, you want to care for a coating to keep its protective and visual properties in good condition for as long as possible.
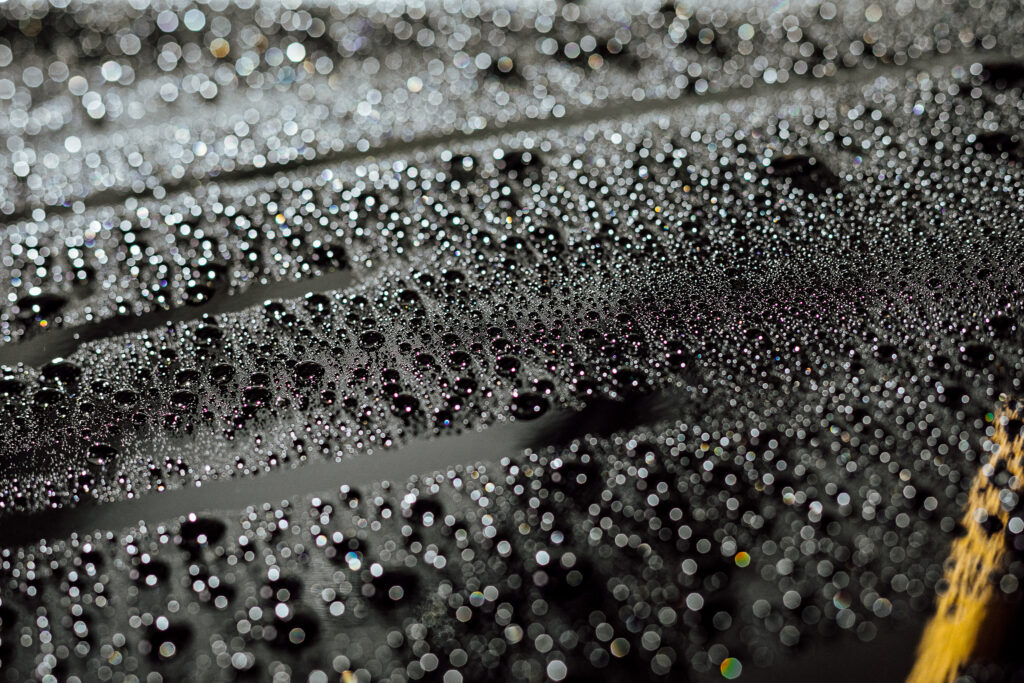
The second reason is to enhance the hydrophobic effect of the coating. Hydrophobicity is a property that protects the car against the accumulation of dust and dirt. It facilitates the washing of the car, too. However, like ceramic coatings, it fades over time, and improper washing and drying speed up this process.
Summing it up, thanks to the maintenance of the coating, you will extend its life in a relatively simple way. It will be easier for you to keep the car in good condition daily.
Side note: it’s commonly believed that impaired hydrophobicity marks the end of the life of the coating. This is not true because a ceramic coating can still protect the paintwork and provide gloss even with reduced hydrophobic properties.
How to maintain a ceramic coating in 4 steps
Maintaining the ceramic coating is much simpler than sustaining many other parts of the car. You can do it in 4 steps:
Stage I – wash the car
The first step is to thoroughly wash the car. The process is relatively simple because cleaning a vehicle’s paint with a ceramic coating is easier than in unprotected cars. And the results are much more satisfying. 🙂
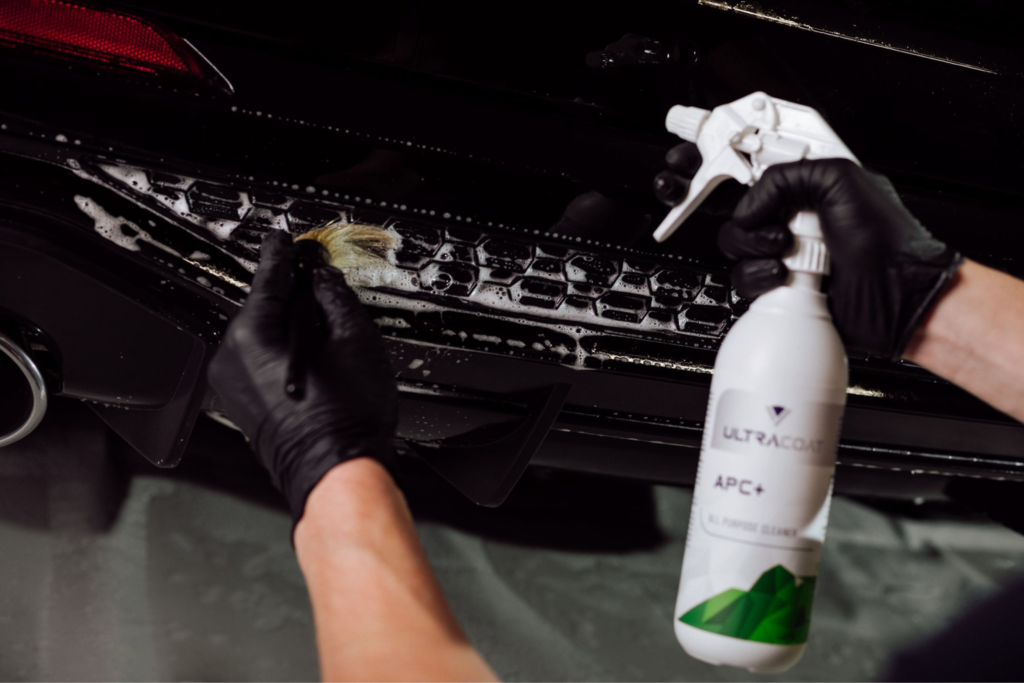
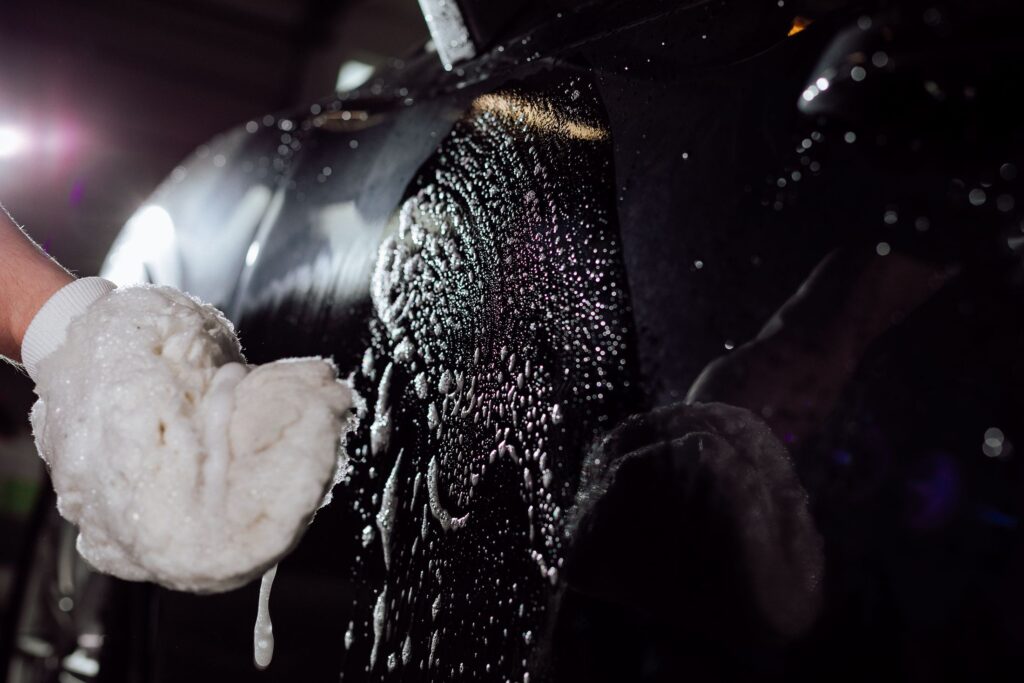
Start with a pre-wash to remove dust and pollen and to soften dirt on the paint. Spread a multi-purpose pre-wash cleaner over the entire car’s surface and wait a few minutes. The car should look like it’s covered with a soft layer of snow.

You can clean the fuel filler area, grill, and other less accessible parts during this time. For the best effect, you might want to use a detailing brush and a dedicated APC cleaner. After polishing the details, rinse off all foam and dirt.
The next step is to wash the car using the “two-bucket” method. Start with pouring clean water into the first container. Next, pour a solution of water and shampoo into the second one, in a proportion of 50 ml of shampoo to 10L of water.
Get washing gloves and:
- wet the gloves in water with shampoo,
- wash a specific element of the car,
- rinse the glove in clean water and repeat the process.
Finally, thoroughly rinse the entire paint again. Thanks to the two-bucket method, you will avoid any stains from dirty water. The dirt will remain in the water container without the shampoo.
If you need more detailed information on the above process, check out our article on exterior car detailing.
Stage II – decontaminate the paint
The second stage is paint decontamination, meaning removing dirt such as iron particles, asphalt pieces, or resin from the trees. To run the process smoothly, dry the car thoroughly after washing because water hinders the chemicals we will use in this step.
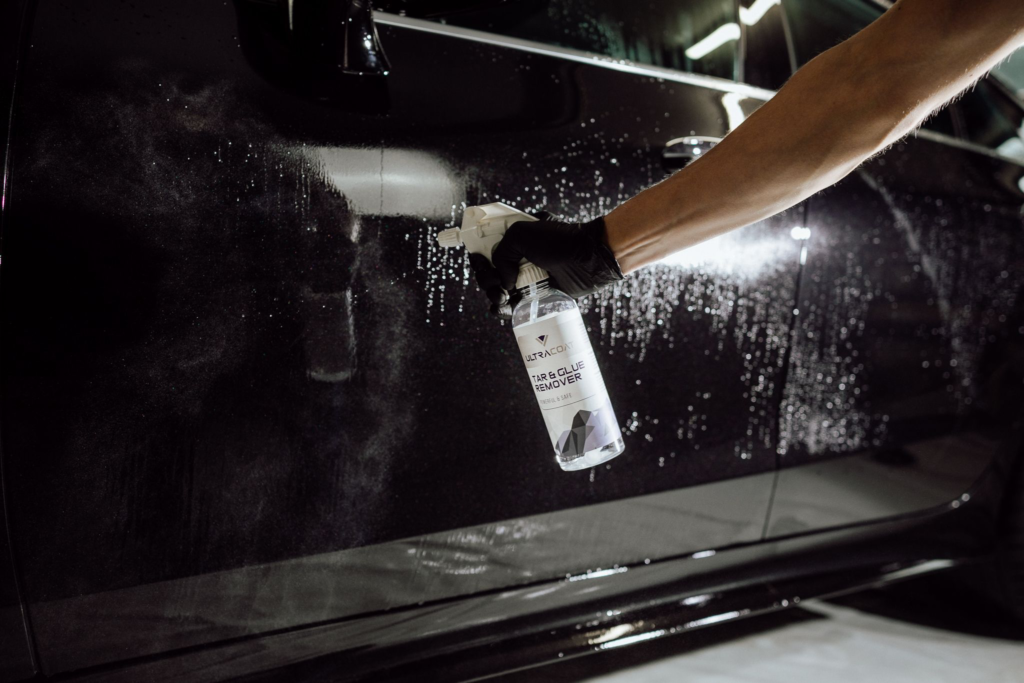
Start decontamination by removing petroleum contamination, such as tar. You can use our Tar & Glue Remover. Spray the dirty areas, wait 1-2 minutes and rinse with water. If the dirt doesn’t go away by itself, use a microfiber.
Alternatively to chemical products, you can decontaminate the paint with claying, rubbing the paint with a special clay. However, this task requires extraordinary gentleness, which is why many detailers choose chemical products. They are almost as effective as clay and much easier to use.
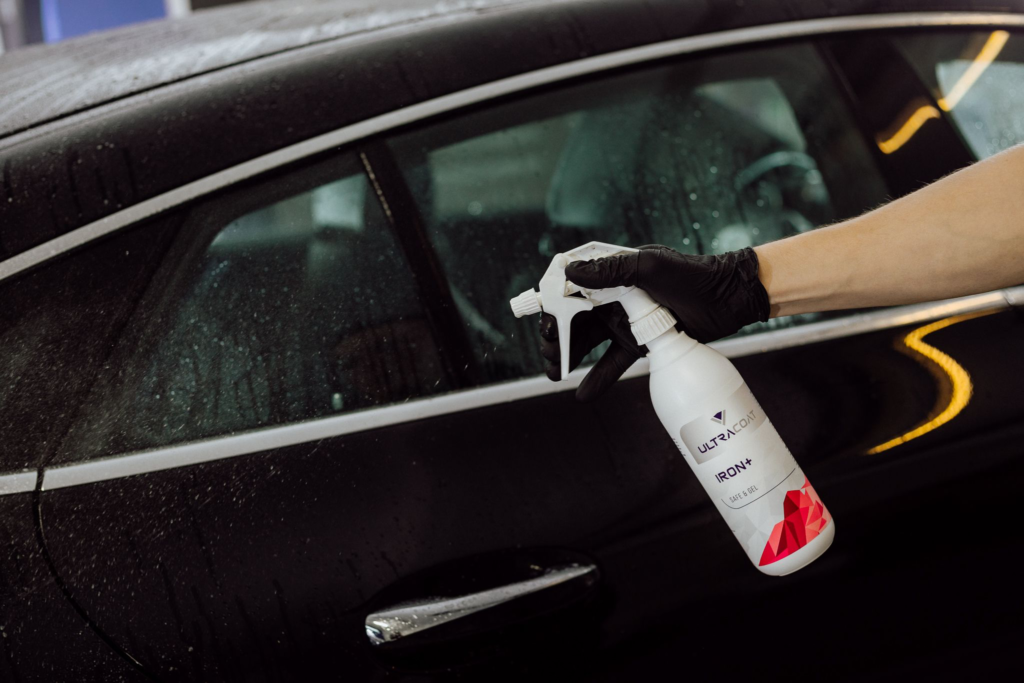
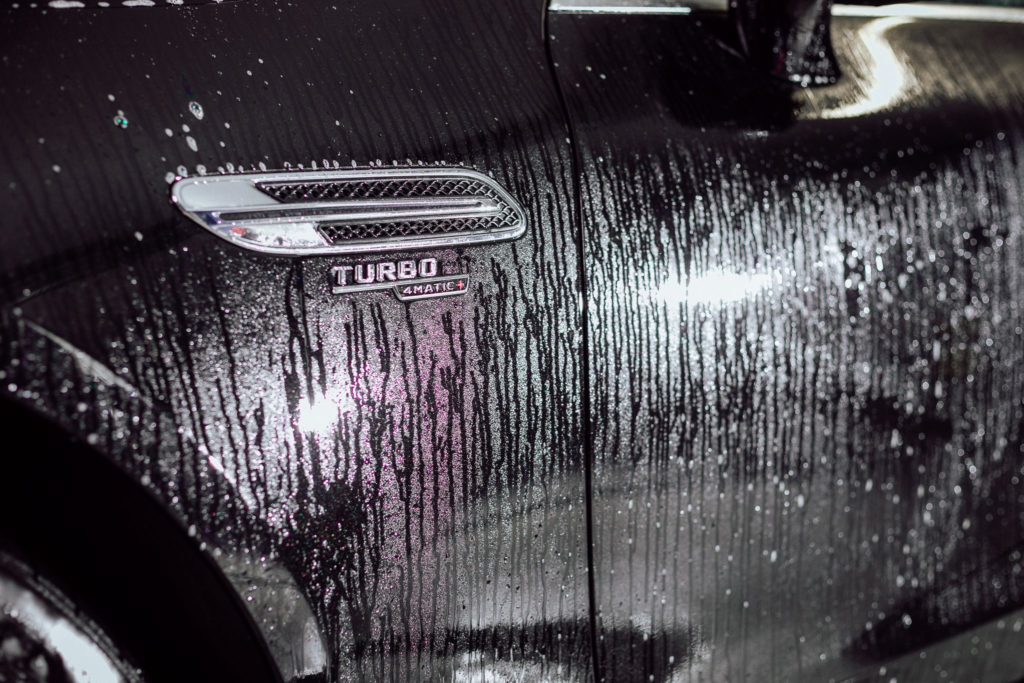
In the second step, get rid of iron filings from the car body. Apply the metallic remover from top to bottom of the car and wait for the bleeding effect. You can additionally strengthen the effect by spreading the product with microfiber. After a few minutes, rinse the surface thoroughly.
Important notes:
- Decontamination products work best on dry paintwork, so dry the car parts you’re going to clean before this step.
- Make sure that chemical products are thoroughly washed after decontamination. All you need is active foam and a good rinsing with water.
Stage III – degrease the surface
When applying both ceramic coatings and conditioners for coatings, you always want to be sure that the surface is spotless and free of any grease. Therefore, in the third step, proceed to degrease the surface of the paint.
Many detailers use isopropyl alcohol (IPA) based products. However, they’re not suitable for every paint and can damage more delicate surfaces. So instead, we recommend using universal cleaners, which are as effective as solid as solvent-borne products but are safer for the surface and the user.
To degrease the surface, spray the cleaner over the paint and spread it with microfiber. Then, wipe the area again with the clean side of the cloth.
After completing stage III, you will get a surface ready for the final conservation stage, which is…
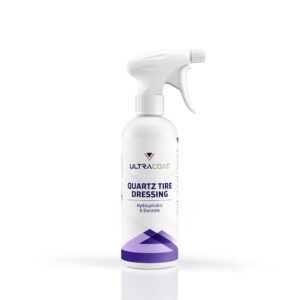
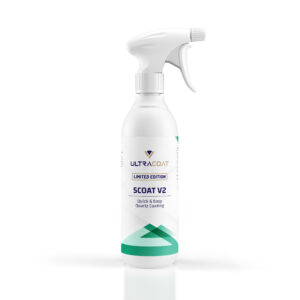
Stage IV – apply the conditioner
It will restore the appearance of the coating to the desired condition and protect it for the next maintenance period. We recommend Scoat v2 conditioner for this purpose. It’s easy to use and works lightning fast.
All you need to do is spray the car element with the agent and spread it with a microfiber cloth. Then, step by step, cover the entire surface of the car with the conditioner. Scoat v2 doesn’t require curing, so you can hit the road right after application.
And that’s it!
How often should I maintain my ceramic coating?
Coating maintenance is relatively inexpensive and straightforward, but regularity is key to successful care. Therefore, we recommend doing it once every 6 months or 10,000 km.
Remember, however, that except for maintaining the coating, you need to wash your car regularly, especially in rainy and snowy seasons. The longer you delay cleaning your vehicle, the sooner you must repeat the maintenance or even put on a new coating.

Are you interested in our products? Write to us!
Subscribe
0 Comments