


How to clean and detail a car interior? Step by step guide
Hi!
In the previous blog post, we described the best way to detail the car’s exterior. However, every automotive enthusiast knows that cleaning the outside is only half the battle. It doesn’t matter if the paint shines like a diamond when the interior scares away with dust, dirt, and rubbish…
For this reason, we’ve prepared the second part of the car detailing guide. Today we deal with the cockpit. You will learn how to clean and freshen up a car interior the way it’s done in professional detailing studios.
Let’s ride!
Step 1: Declutter the interior
The detailer’s first step is to get all the items out of the car so they don’t get in the way while cleaning.
Search the glove box, seat pockets, and every inch of the car to eliminate rubbish, pillows, accessories, and other moving parts. In the end, pull out the rugs.
Have all accessories and cleaning products ready and plan all steps in turn.
Important: remember to segregate rubbish!
Step 2: Clean the mats
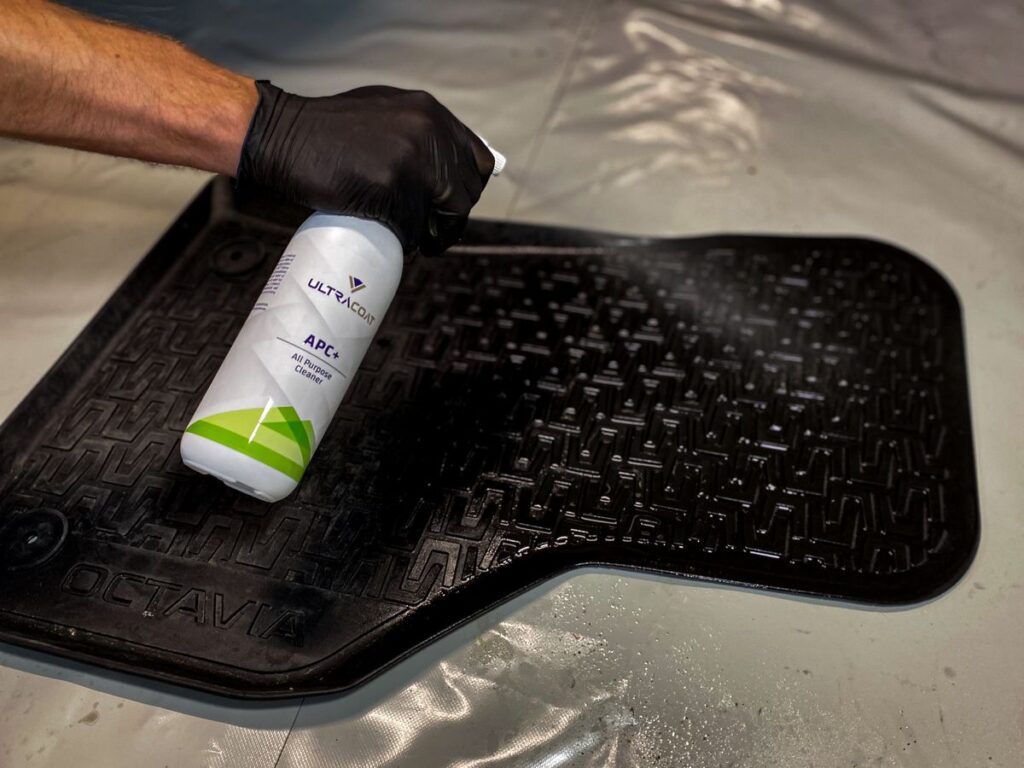
If you have rubber mats, first rinse them with water under pressure and apply APC + Universal Cleaner to the mat’s surface. Next, scrub the rugs with a brush and rinse with water again.
For fabric rugs, vacuum them thoroughly and then scrub with a mild solution (1:40) of APC +. Finally, wipe them with a microfiber cloth.
Put washed rugs outside to dry, but don’t keep them in direct sunlight for too long as they may fade.
Note: You can also wash your fabric rugs with a washing vacuum cleaner for the best effect. However, for ongoing care, the method mentioned above is enough.
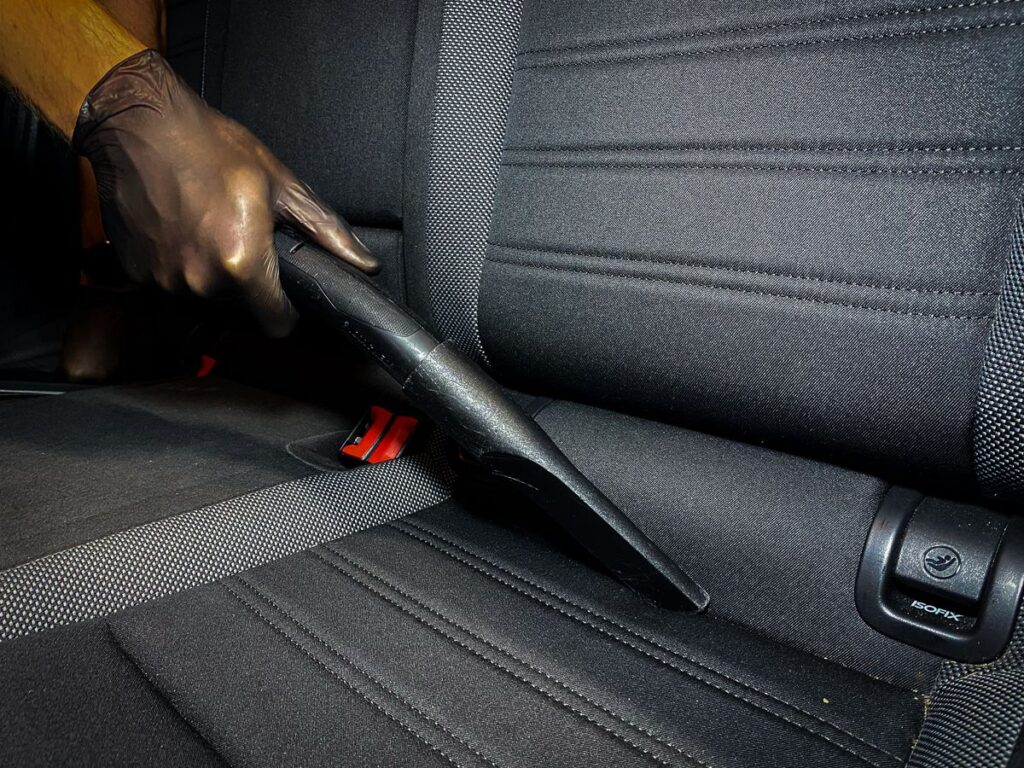
Step 3: Vacuum the floor and car seats
A step you can’t miss if you want to have your interior clean. While vacuuming, stick to the most essential rule and don’t rush!
Slowly and thoroughly vacuum every inch of the floor; move the seats as far back and forth as possible and reach where your eyes cannot see. Do the same with the seats, and if they have retractable elements, such as backrests – pull them out and dust them as well.
Step 4: Get rid of dust from the rest of the car
Side pockets, door handles, air vents, radio, or the cockpit also collect dust. The best way to get rid of it is to use a small brush and sweep the dust off these parts while vacuuming. A brush in one hand and a vacuum cleaner in the other will do the work perfectly.
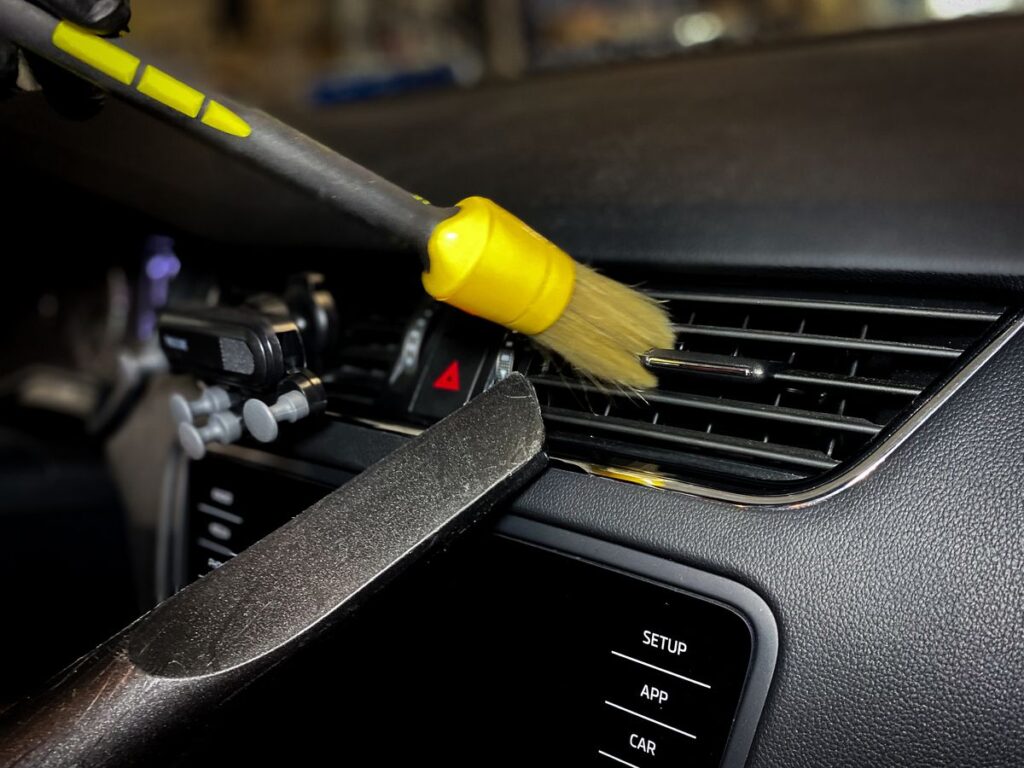
Important: always wipe the dust from top to bottom to scrape off whatever fell off at the beginning and during cleaning.
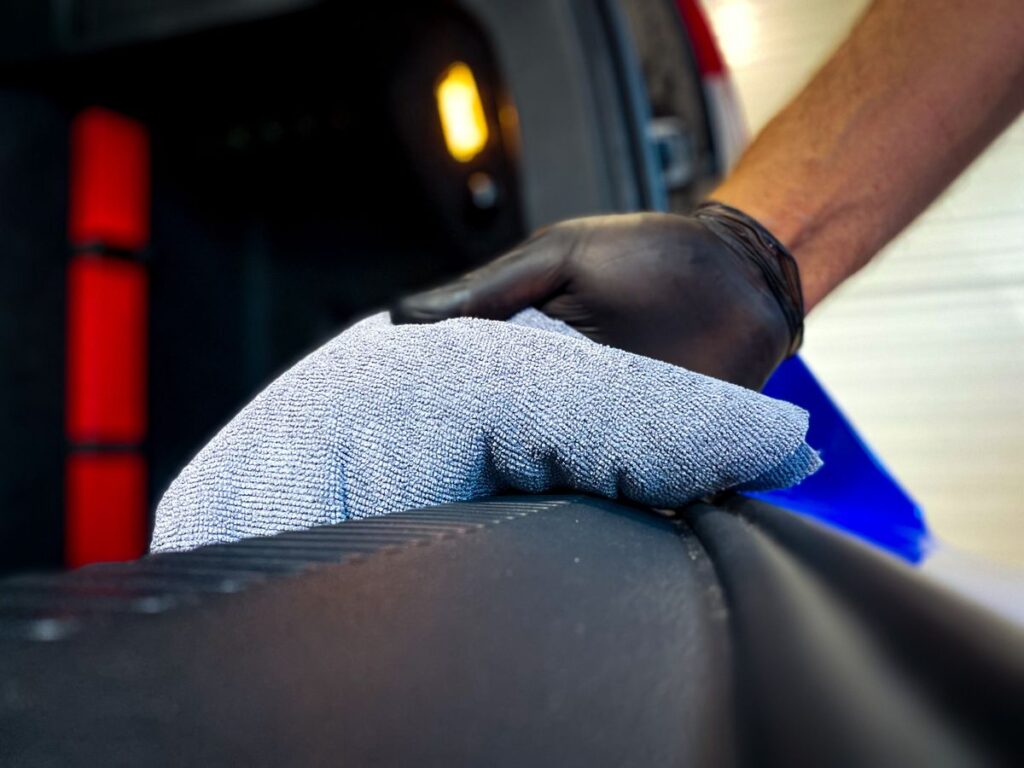
Step 5: Wash the door jambs and door sills
The next step is to wash the door sills and the trunk; detailers most often use steam cleaners to clean door frames and thresholds and then wipe them with a dry microfiber cloth.
If you don’t have a steam cleaner, use the APC universal cleaner mentioned above. All you need to do is spray it on the thresholds and then thoroughly wipe them with microfiber. The effect will be equally satisfactory.
Step 6: Clean the headlining
You cleaned the bottom; it’s time for the top. Professional detailers use soft-bristled brushes on which they sprinkle APC+. Then, they gently spread it over the roof lining to finally wipe it with dry microfiber, piece by piece. You can also include a sun visor in this step.
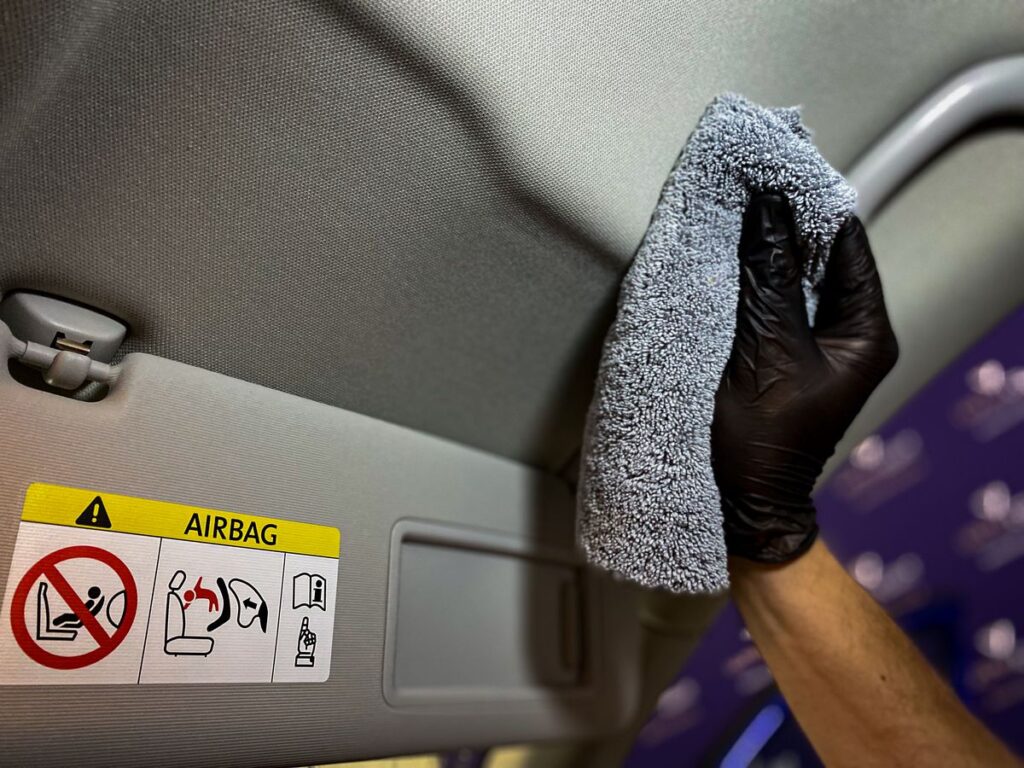
Important: don’t spray any chemicals directly on the headlining, nor wipe it with a heavily soaked microfiber. This way, you will avoid dissolving the glue on which the roof lining material adheres to the car roof.
Step 7: Clean the seats
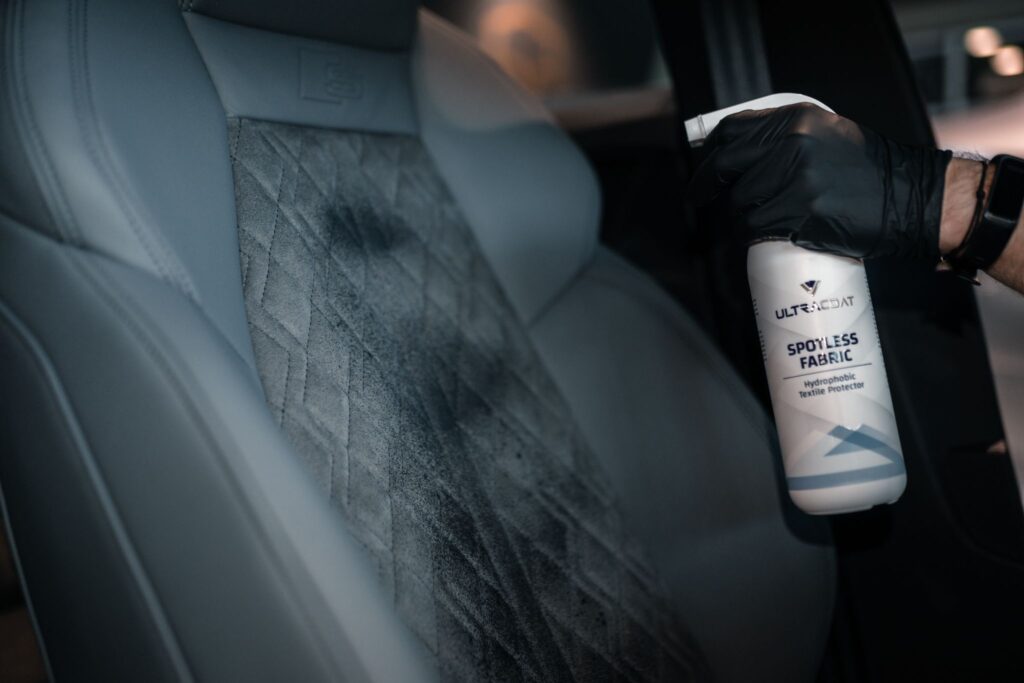
If you have fabric seats, use the already mentioned APC (in a solution, about 1:40). Spray it on the seat and spread it gently with an upholstery cleaning brush (any nylon brush will work well, as long as the bristles aren’t too stiff). Then wipe the washed surface with a dry microfiber brush.
The process is very similar for leather seats. First, apply the leather cleaner to the brush or microfiber and gently spread it on the seat’s surface. Finally – as usual – wipe the clean surface with a dry microfiber to eliminate the excess detergent.
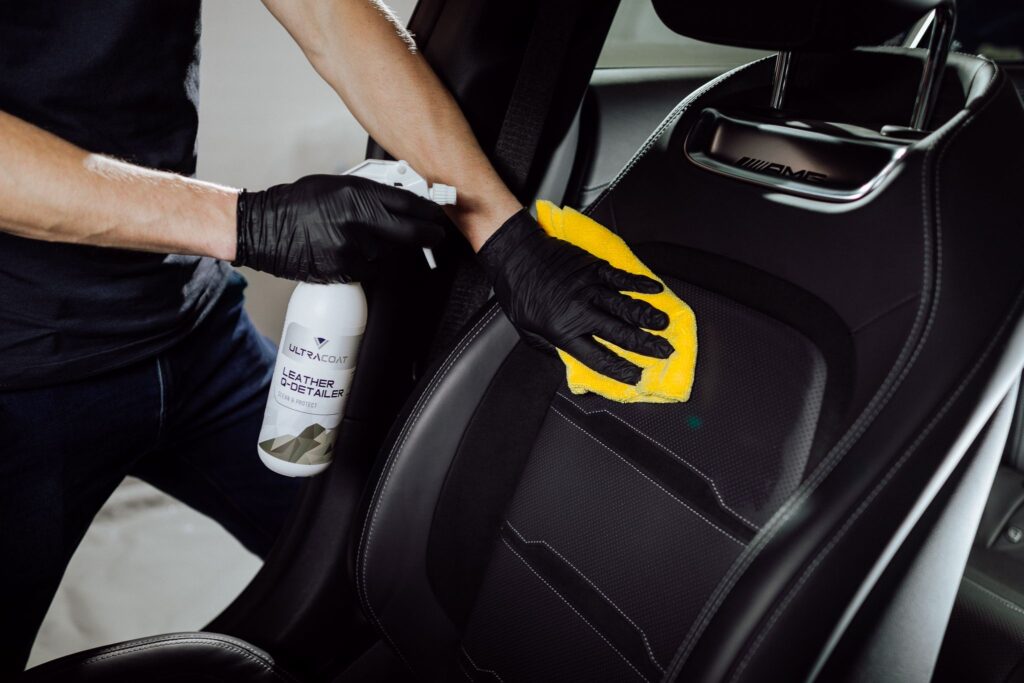
Step 8: Impregnate the seats
Cleaning the seats isn’t the end of work on them. Professional detailers take one more step to protect them from UV rays, dirt, and mechanical damage.
Depending on the seat cover, use a dedicated leather or upholstery impregnation product. The leather product recommended above is already enriched with protective properties, so you’ll both clean and impregnate your seats with it.
Spread the selected product over the entire surface of the seat using microfiber and let it dry.
Important: If you have a leather steering wheel, include it in this step as well.
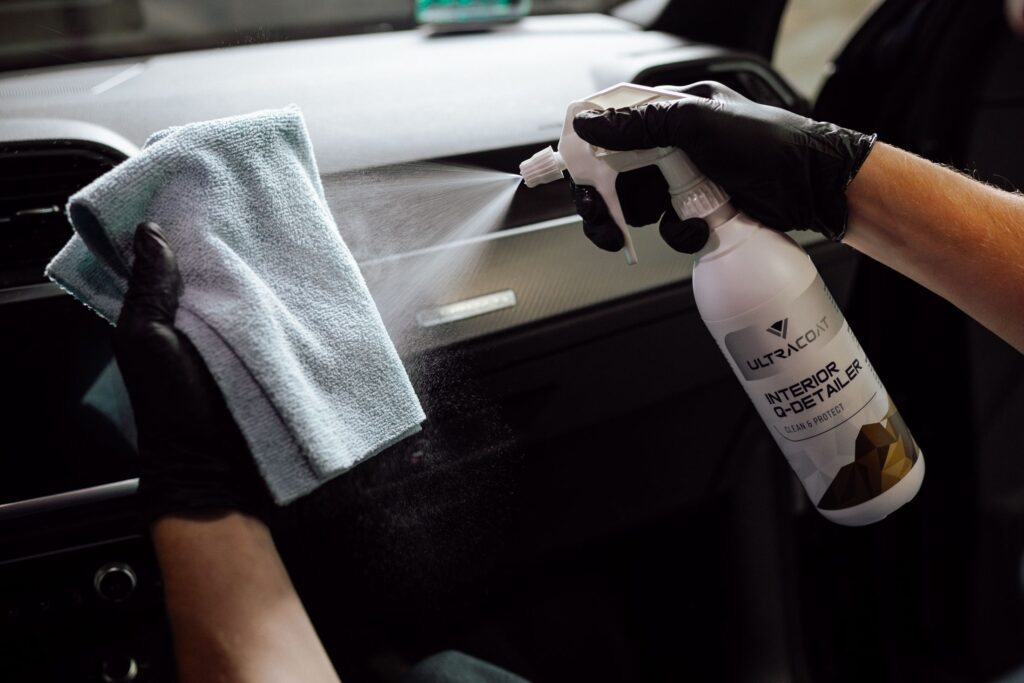
Step 9: Wash and protect the trim
It’s time to clean parts such as the interior of the door, pockets, sun visors (if you haven’t done this when washing the headliner), the gear shift gaiter, or the dashboard.
The detailer does this with a cockpit care product that cleans and protects the plastics, cockpit, and painted surfaces. It’s enough to put it on the microfiber, spread it on the surface, and eliminate the excess with the clean side of the towel.
Important: if the interior of the door, the steering wheel, or other car elements, apart from the seats, are upholstered with textile or leather upholstery – clean them and impregnate them with a dedicated leather or textile product.
Step 10: Take care of the fragrance
All the products we have listed above not only clean well but also leave a lovely fresh scent. Nevertheless, it’s worth taking care of this aspect additionally. Detailing studios usually use dedicated car air fresheners. Still, the good ole Wunder-Baum will do the job.
Important: If you have a spray air freshener, spray it onto the tops of the front mats. When you turn on the air conditioning, the air movement will do all the work for you.
Step 11: Clean the windows
In the last step, clean all windows from the inside; a dedicated glass cleaner will work best for this. Spray it on the glass surface and microfiber (preferably with short bristles), rub the glass thoroughly and then polish it with a dry side to achieve a perfect finish.
Tip: To help you notice and eliminate streaks when cleaning windows, you can use an additional light source. Professional detailers use an inspection lamp or a headlamp and check the coating or windows regularly. If you don’t have one, a floor lamp or a halogen lamp will also help.
In addition, the inside of the windscreen is easier to clean from the passenger seat. It seems obvious, but he that at least once hasn’t cleaned the windshield from behind the steering wheel, let him first cast a stone at his car.
Interior detail: it’s time for you!
If you’ve made it this far, congratulations. You’re at least half the way to a perfect-looking car!
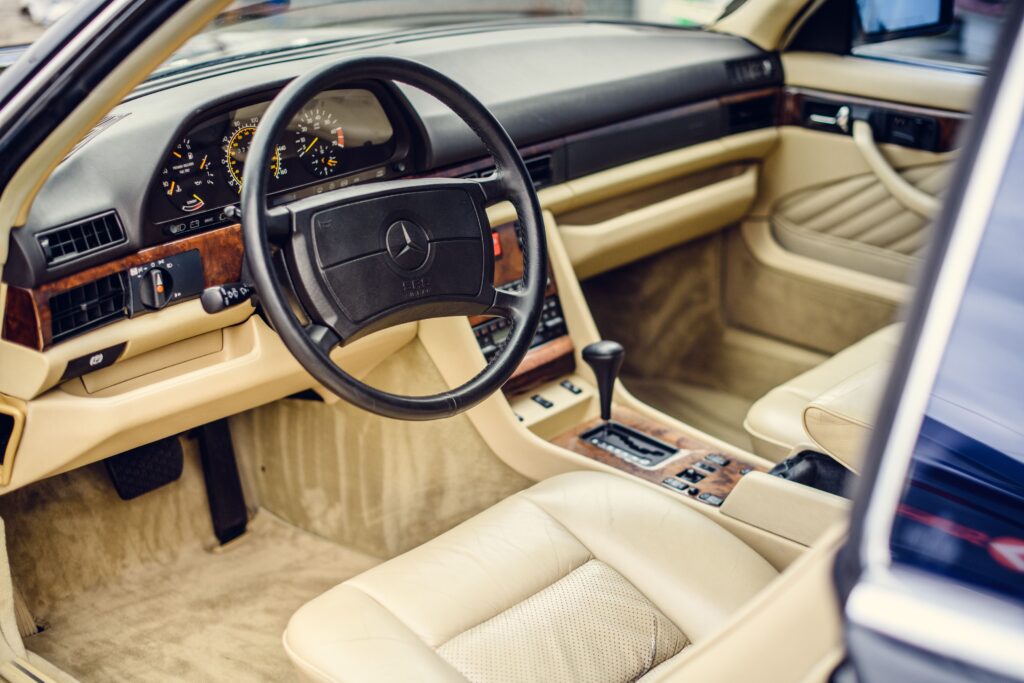
All the above photos come from interior detailing work done by our partners. Hopefully, they will inspire you to get to work yourself. 🙂
Are you interested in our products? Write to us!
Subscribe
0 Comments