


Exterior car detailing. DIY
Are you considering leaving your car in the detailing studio and want to know the cleaning process step by step? Or maybe you want to take matters into your own hands and make the car shiny all by yourself?
Regardless of what brought you here, we have prepared a list of activities that make up a car SPA in a detailing studio. Their sequence and minor details may differ depending on the detailer and his preferences. Still, most of the stages presented here take place everywhere in the same order.
Today, we will cover external detailing that you can repeat yourself in the backyard.
Let’s go!
Step 1: To warm up, inspect the car
First, you should carefully inspect the car. Check which parts need your most attention, plan the sequence of activities, prepare all necessary tools. Mute the phone so that no one disturbs you two… Stand face to face with the car and mentally prepare for the cleaning.
Not a big hustle, right? But it does make a difference; trust us on this one.
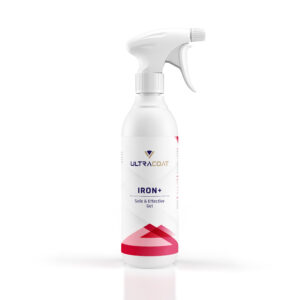
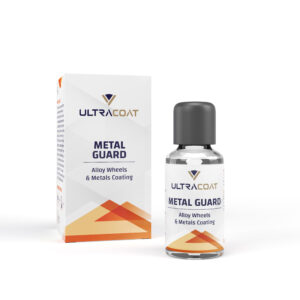
Step 2: Wheel arches, tires, and rims
Car detailing starts with the wheels because they are usually the dirtiest part and need to be given a lot of attention.
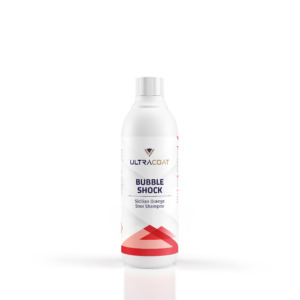
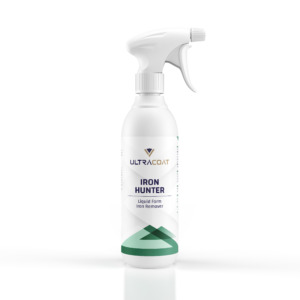
The detailer first applies cleaning products, such as rim cleaner, to remove surface dirt and dissolve metallic marks from the brake pads. He helps himself with special brushes and spreads the chemicals on the surface.
After that, we wait a few minutes and rinse the wheels thoroughly. During the initial washing, which is the next step, you can apply the active foam on the rims (this time without additional brushing) and rinse them along with the entire car. This extra step allows you to remove any remaining chemicals or stains.
Important note: use dedicated brushes and gloves for nothing but the wheels. They usually have sand in them and can damage the paintwork. Keep it in mind when visiting a touchless car wash.

Step 3: Pre-wash
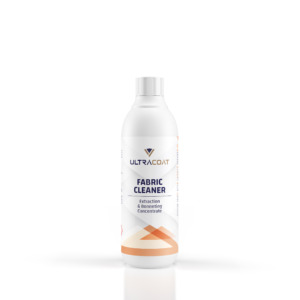
The next step is pre-washing, the purpose of which is to soften the dirt on the car body and remove dust or pollen that could damage the paintwork in the following steps.
In this phase, detailers use multi-purpose cleaners that are safe for any exterior surfaces and apply them evenly, piece by piece. Tip: spread the active foam from the bottom to the top of the car so that it doesn’t stratify and lasts as long as possible on the vehicle’s surface.
When the whole car looks as if it’s covered with a centimeter layer of snow, wait a few minutes for the foam to start working, meaning softening the grime. Pre-Wash ends with rinsing the car.
Note: It’s a good practice to use a bug remover before pre-washing. The product will work longer on the surface and dissolve bird droppings and insects more effectively.
Step 4: Cleaning hard-to-reach places
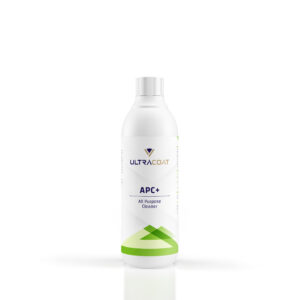
Grill, door handles (with interiors), fuel filler, and plastic elements also require care. At this stage, precision is appreciated. Detailers use small detailing brushes and All-Purpose Cleaners (APCs), which are great for cleaning non-standard surfaces.
Tip: do this step right after applying the active foam before rinsing it off so that you can clean the car body and the small parts simultaneously.
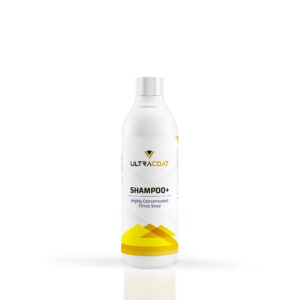
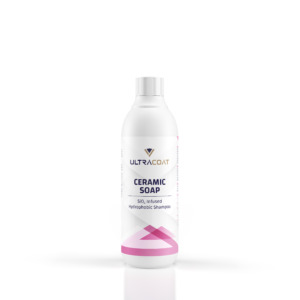
Step 5: Two-Bucket car wash
Touchless washing with the use of active foam cleans the car well, but it won’t remove all the dirt, such as the “traffic film” you see when you run your finger over the paint washed on the touchless car wash. For a drive to be immaculate, you have to wash it by hand.
This is being done with the so-called two-bucket method: the first is pure water, and the second is water with car shampoo. Both buckets should be equipped with a grit guard, allowing sand, dust, and other particles to fall to the bottom to not get on the glove and scratch the paint.
During this phase, detailers use special car washing gloves and first soak them in a shampoo bucket, then thoroughly wash the car part, and rinse the glove in clean water.
Tip: Rinse the glove as often as possible, and wash the car from top to bottom: the roof, windows, the hood, etc.
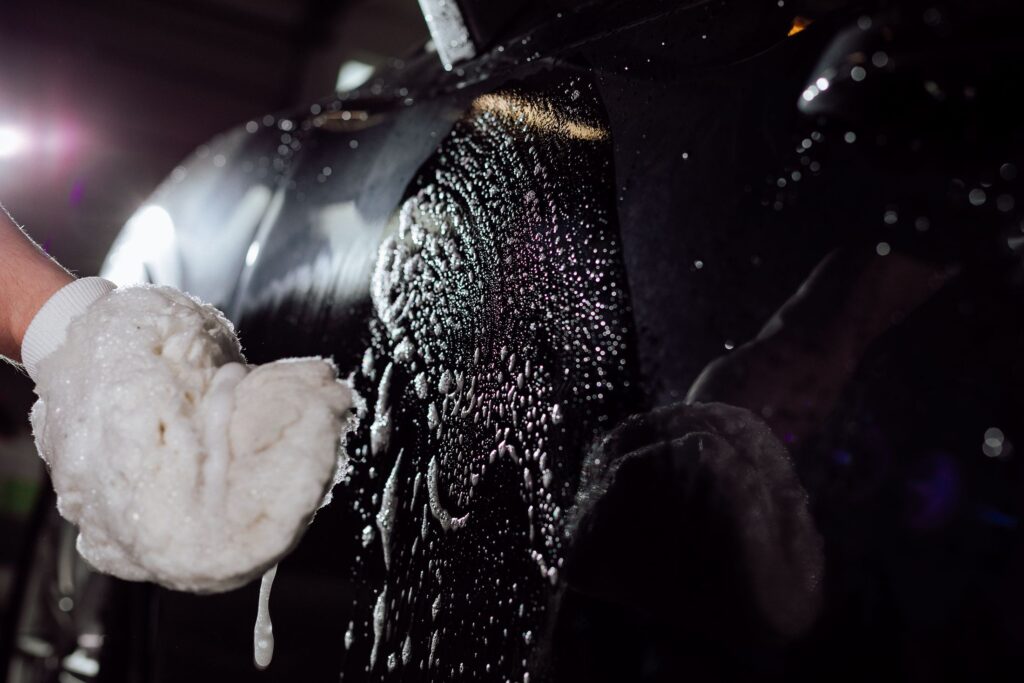
Repeat the process until every part of the car body is cleaned. Finally, rinse the shampoo with clean water.
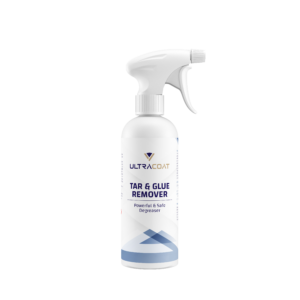
Step 6: Decontamination
Time to remove grime that neither active foam nor shampoo can dissolve, such as industrial sludge, tar, glue, or asphalt. The ease of application and the durability of the coating itself depends on this stage.
One of the most popular decontamination methods is claying: rubbing the car body with a special clay that “pulls” impurities from the paint’s pores. Technically, it’s not difficult but requires delicacy. Too strong claying may scratch the paint, so do it slowly and without force. To increase the slip of the clay, detailers often cover the clayed surface with a lubricant.
Another method that is gaining in popularity is chemical decontamination. You can use slow-drying products to remove difficult contaminants. They clean dirt as effectively as clay and don’t carry the risk of scratching the paint.
Important note: Chemical decontaminators work best on dry surfaces. Water is an unnecessary barrier for them, so make sure to apply them on dry paint.
After decontamination, the detailer rewashes the car with shampoo or pre-washer to remove all remaining chemicals and dirt. If the paint is not perfectly clean at this point, it will give you some extra work in the next step, polishing.
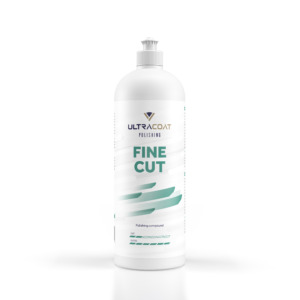
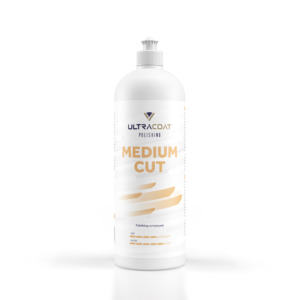
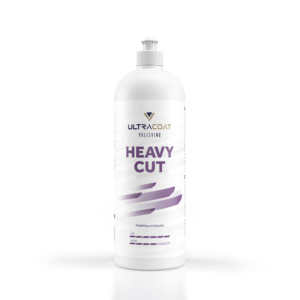
Step 7: Paint correction – polishing
If any dirt remains on the car after the previous steps, only divine intervention can prevent them. In most cases, the paint is already suitable for polishing, the purpose of which is to remove scratches, discoloration, matting, and holograms.
The paint correction is the most technically advanced stage of detailing. A minor mistake can end in a painful scratch, and we are by no means talking about the polisher’s own injury.

The studios use polishing machines and dedicated mechanical polishing pastes. If you would like to try your hand at polishing, we recommend doing it with Dual-Action machines. They work orbital, making it almost impossible to burn through the paint and give the detailer a great margin of error.
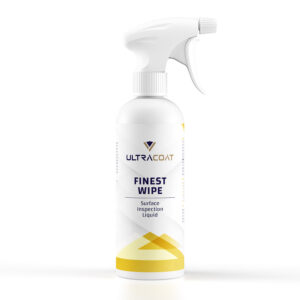
Step 8: Cleaning after cleaning
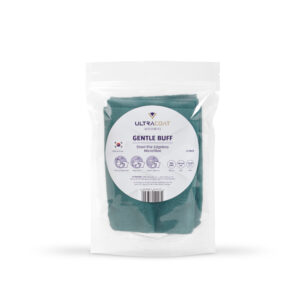
Polishing may leave slight traces, such as the remains of the polishing paste. Getting rid of these residues is the last step before applying a protective layer.
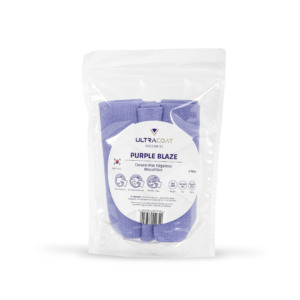
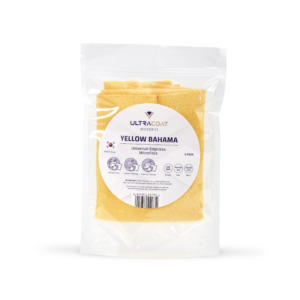
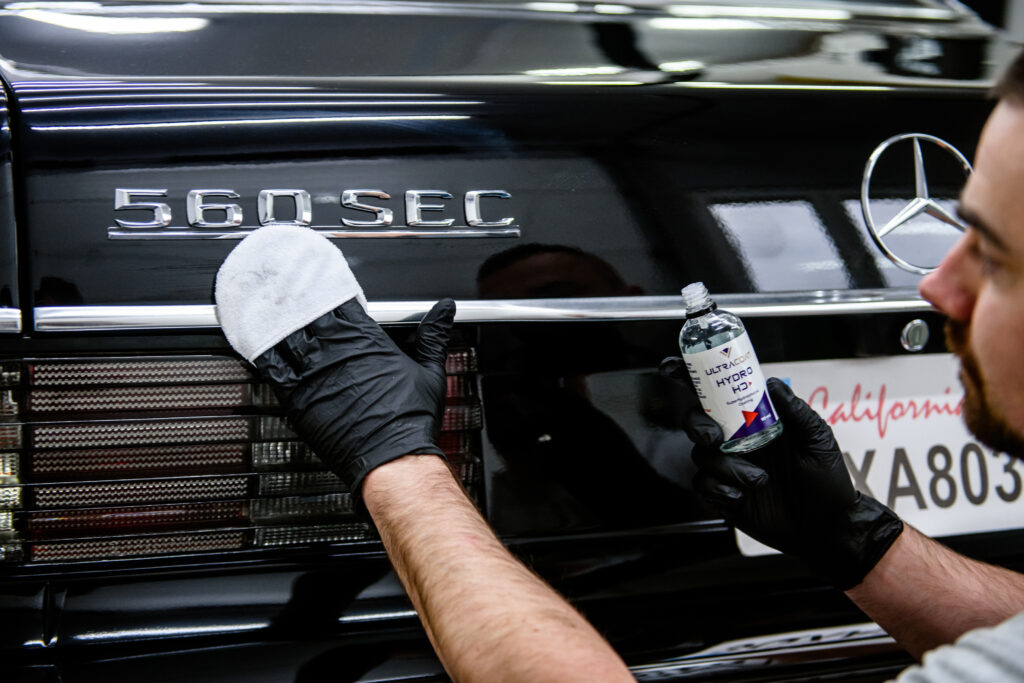
For this purpose, detailing studios use final inspection liquids for gently cleaning and degreasing the paint. They are applied directly to the paint and spread with microfiber.

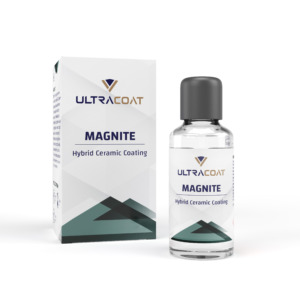
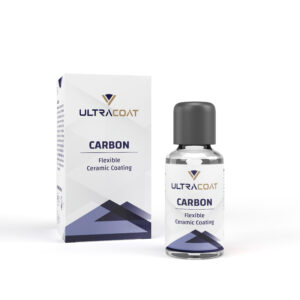
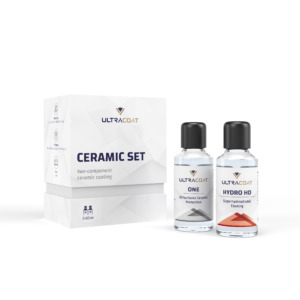
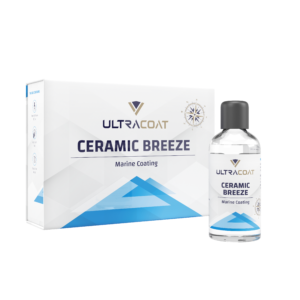
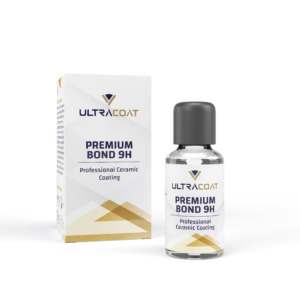
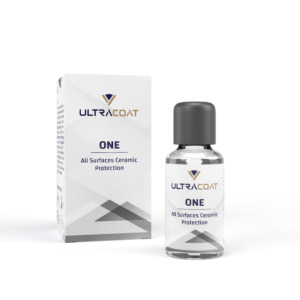
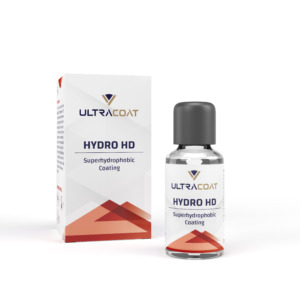
Step 9: Paint protection, coating application
The grand finale, the cherry on the top, creme de la creme of detailing.
All the previous steps lead us to the application of the protective layer.
Applying the coating depends on its type, whether it’s wax or ceramic coating. The most important thing is maintaining appropriate external conditions adapted to a given product, such as the right temperature and air humidity.
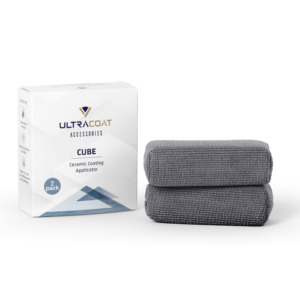
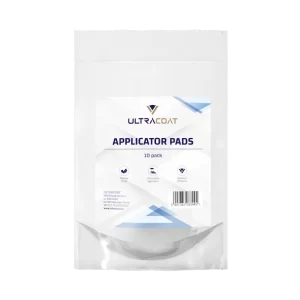
The coatings are applied with a particular cube or microfiber applicators directly on the paint, spread with a cloth.
When covering cars with permanent ceramic coatings, the layer needs to harden, usually taking a whole day. For short-term products (6-12 months), this procedure is not necessary.

Tip: for better effect and greater durability of the coating, the process can be repeated once or twice.
Step 10: Your turn!
As you can see, professional detailing consists of several specific steps in a clearly defined sequence. You can leave your 4 wheels to a professional studio, and you will surely be delighted, but you can do it by the book yourself, too.
And how satisfying it will be!
Are you interested in our products? Write to us!
This is by far the best step-to-step guide as far as DIY is concerned. I’ve been looking for a large number of principles, to be honest, but none have been better than this one. Again, I thank my friend who forwarded this to me.
Thank you Greg, we really appreciate your opinion!