

How to remove a ceramic coating?
The application of a ceramic coating isn’t always successful, especially for beginners. High spots are a nightmare of every home detailer who hoped for a perfect glow but left the paint with a few imperfections.
To ensure good sleep for all petrolheads like ourselves, we have prepared a short guide, thanks to which you will learn:
- How to remove a ceramic coating applied for up to 2 hours and up to 24 hours?
- How to remove a ceramic coating 24 hours after application?
Removing a fresh ceramic coating
The most common mistake made during application is improper buffing. This results in an uglier look of the car (nobody likes high spots, especially on sunny days) and less protected paint.
What to do when you leave the paint with high spots?
- Removing a fresh coating within 2 hours from application
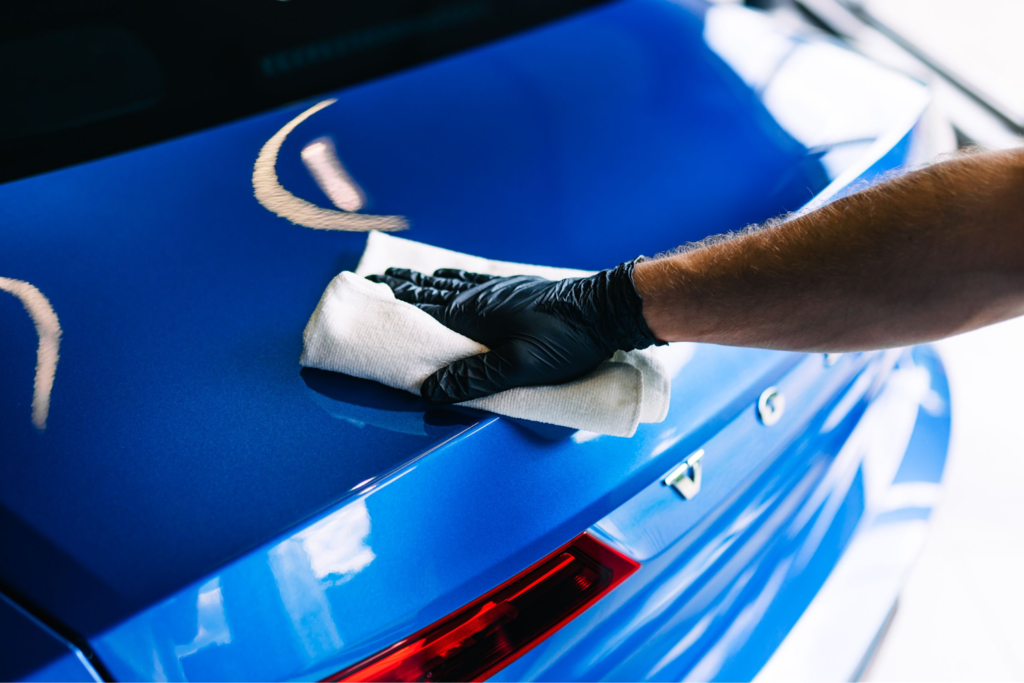
To correct a freshly applied coating, all you need to do is repeat the application in the place where it was insufficiently buffed. In this case, apply it precisely the same way you did it the first time.
The solvents contained in the coating will dissolve high spots, and the re-buffing will give a perfect finish.
- Removing a coating applied within 24 hours
If the coating was applied 2-3 hours ago, the above method would not dissolve the dried-on imperfections.
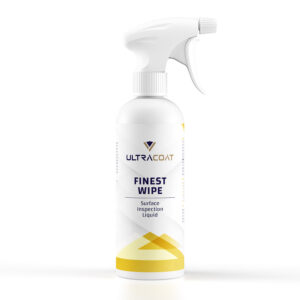
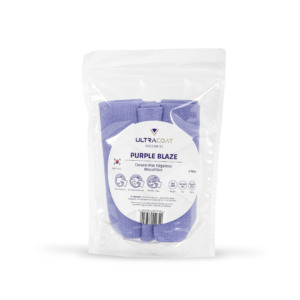
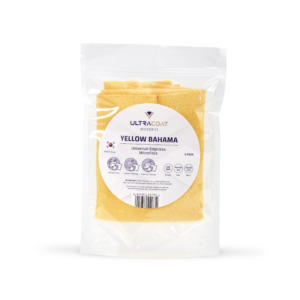
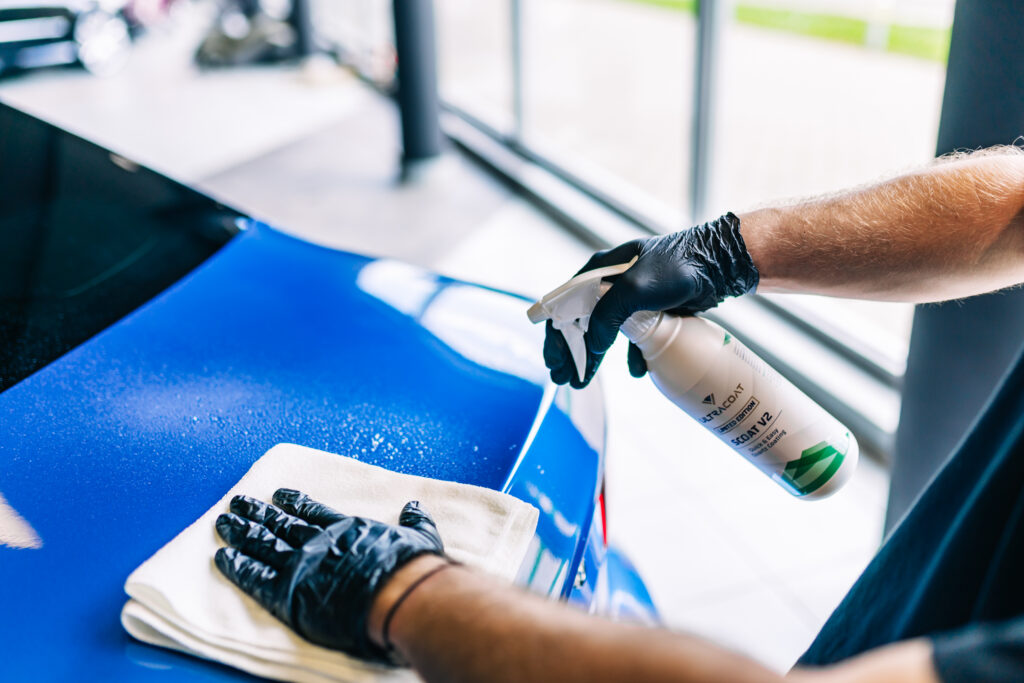
In this case, spray the area and the microfiber cloth with Finest Wipe, isopropyl alcohol, or another paint degreaser. Gently wipe a fragment of the coating, and then spread the product with the clean side of the microfiber.
The coating should let go in a given place, which will allow you to apply it again. This time use a few drops of the product on the applicator and proceed as in the regular application.
How to completely remove a ceramic coating?
If more than one day has passed since the coating application, the coating is fully cured, and the above methods won’t be enough.
To remove a cured ceramic coating, you need to polish it first. We don’t recommend doing it yourself if you’re not familiar with the polishing pad. One wrong move and the high spots will be the least of your worries. 🙂
For more experienced detailers or simply brave ones, we’ve prepared a short guide. If the car is dirty, first wash it, and if it’s not, go straight to the 2nd step.
Step 1: prepare the car paint
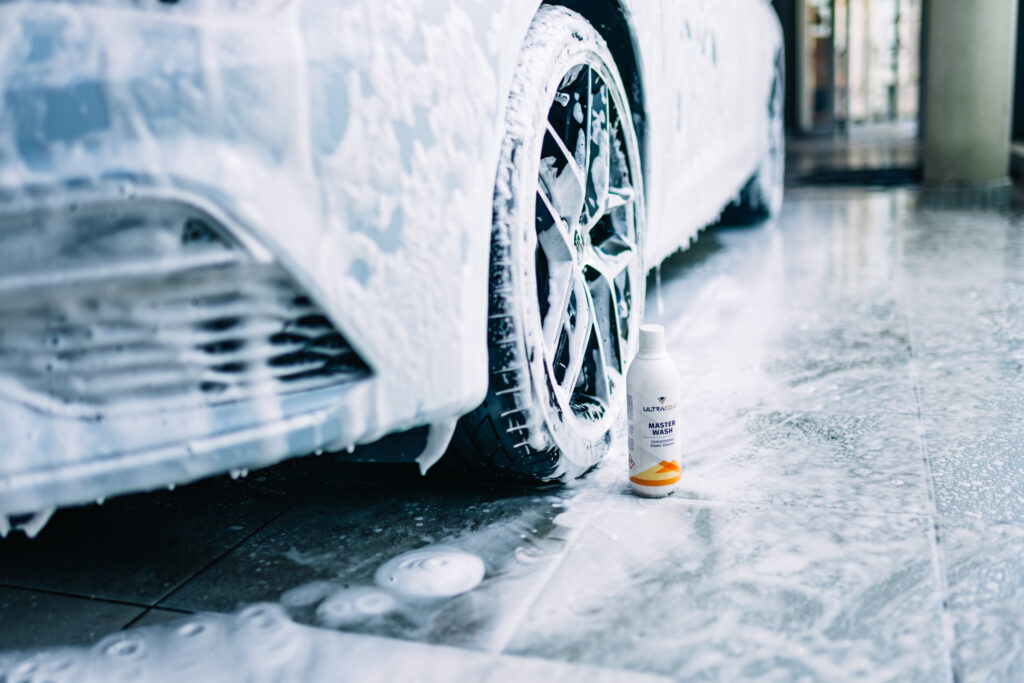
Start with a thorough car wash. To do this, grab a pre-wash product, spread it over the paint, wait for the foam to appear, and rinse it.
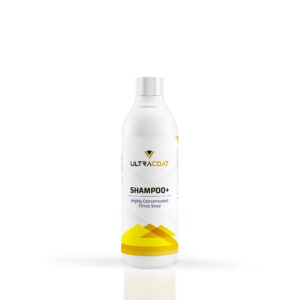
Then proceed with a two-bucket wash. First, prepare two containers, one with a solution of water and shampoo (proportion 50 ml of shampoo to 10 L of water), and one with clean water. Then soak the glove in water with shampoo, wash the given part of the car and rinse your hand in clean water.
Repeat this process until the whole car is washed.
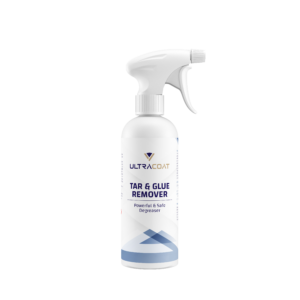
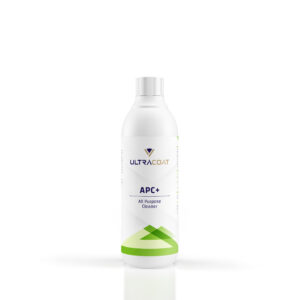
Before polishing, you should also decontaminate the paint to remove metallic and chemical dirt. Use Tar & Glue Remover and spray it on the given place on the paint. Then wait about 1 minute and rinse it.
After decontamination, dry the car thoroughly and prepare for polishing.
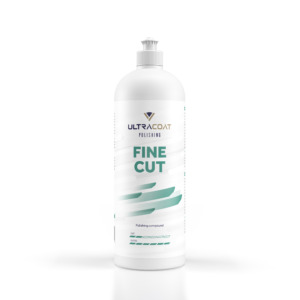
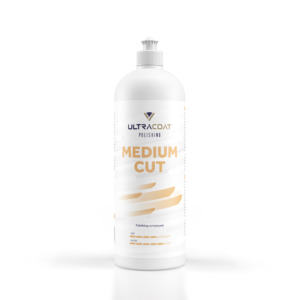
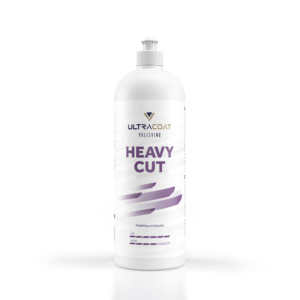
Step 2: Polish the coating
In many cases, a gentle finish is enough to remove the coating. Start with the least intrusive combinations of polishes and polishing pads. However, suppose the finish paste doesn’t deliver desired results, just move on to a higher gradation product.
Remember that additional paint cuts may create the need for an extra step to remove any holograms created during the process.
Step 3: Re-apply the coating
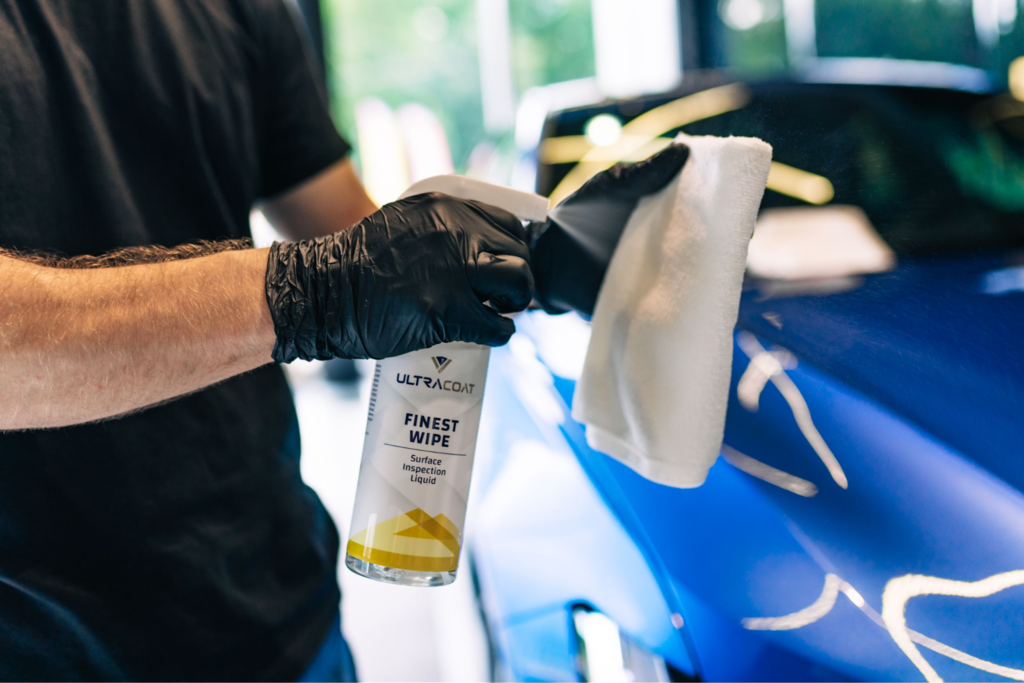
After polishing, degrease it again with Finest Wipe, which will remove paste residues. The paint will be ready for re-coating.
Apply the coating to the polished place according to the scheme in the instructions. After that, your car, already with the improved layer, will be ready for driving.
And if you have any doubts about whether you can cope with this challenge, go to a professional detailing studio. No stains, streaks, or high spots guaranteed!
Are you interested in our products? Write to us!
Subscribe
0 Comments
Oldest