


10 tips on how to photograph a car to make it look beautiful
When Ovid said that “The end crowns the work” he probably didn’t expect it would be used in the context of car photography. But here we are! After 2000 years, we know that car detailing isn’t crowned with applying the last layer of a ceramic coating but with a photo session, or at least a few photos of a shiny ride.
Pretty car photos benefit all sides involved:
- The client because he can share them via social media;
- Car enthusiasts because they can watch cars at their best;
- Detailing studios because they build a fanbase, increase the reach of social media profiles, and attract potential customers.
However, automotive photography isn’t a piece of cake. Cars (especially those that shine) are challenging to photograph. It’s mainly due to the reflection of light and objects around cars and their large sizes/different shapes.
For amateur photographers and detailers who aren’t yet working with a professional, we present 10 tips that will help you capture the beauty of detailing in a photo.
1. Make sure the background is clean
The first and foremost rule of car photography: make the car the center of attention in the picture.
If you’re taking photos in a studio or garage, remove cabinets, accessories, and all other objects that may distract from the car or reflect in the paint. Take photos where the wall is plain, preferably in a light color.
In case you’re unable to remove items from inside the room, try to tidy them up. A casual garage interior can blend in perfectly with the car, as long accessories don’t stand out too much.
When shooting outdoors, avoid distractions, such as other cars, buildings, advertisements, and passersby. A parking lot, an empty square, or an open road will be perfect for shooting.

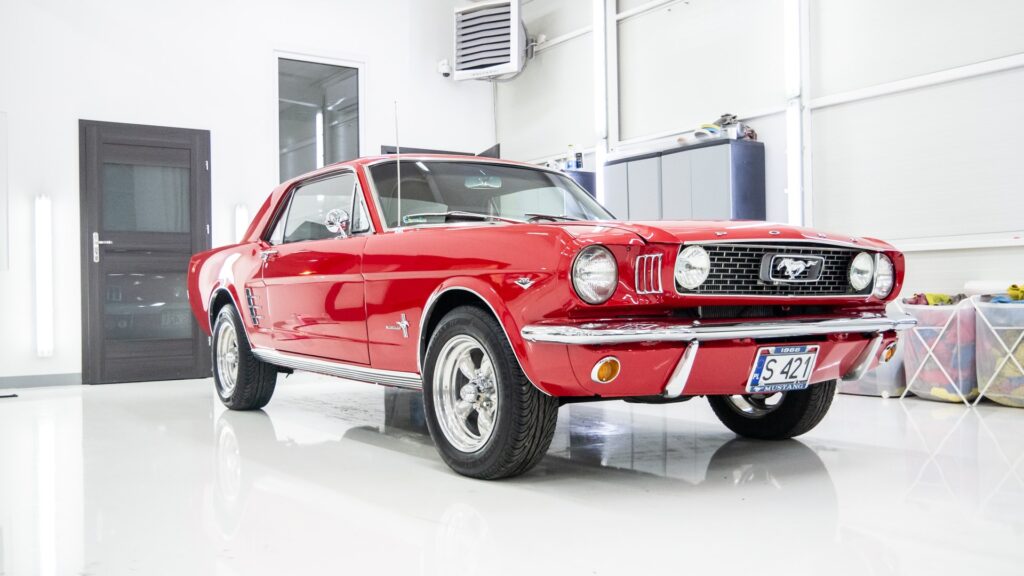
Steam & Shine, Szczecin. An example of a photo where most of the background is clean and plain and detailing accessories blend in well with the entire frame.
2. Adjust the light
We’ve already mentioned that automotive photography is difficult because the paint reflects light, but “difficult” doesn’t mean “impossible.”
The natural sunlight works best. The term “golden hour” in photography is the period after sunrise and before sunset. The light is then warm and soft: perfect for stunning images of the car, whether you’re shooting in the studio or outside.
Also, avoid harsh southern light when taking photos in the garage, and manage the light in all possible ways. For example, if you have roller shutters, control the sunlight with them. If the front of the car is underexposed, open the garage door.
When the daylight doesn’t allow you to take photos inside, help yourself with artificial lighting. Your goal is to evenly illuminate the car front and rear to avoid contrasts.
Note: Sometimes, a lack of lighting is also good lighting. A cloudy sky with barely visible light and ominous clouds can give the picture a unique vibe. You will see a good example below.
3. Keep an eye on the composition
Composition is a term that consists of many minor components, but the most important is not cutting the car. You can test different angles (e.g., photos from above or from the spotlight level), but a greater risk of weird, broken frames come with such attempts. The safest positions are the entire front, rear, and sides of the car.

As we mentioned the “golden hour,” it’s also worth talking about the “golden ratio.” Imagine (or set it in your phone or camera settings) two horizontal and vertical lines dividing the screen into 9 equal squares. The corners of the middle square are places where we aim our look. Make use of it when you photograph the car or interior elements you want to pay special attention to.
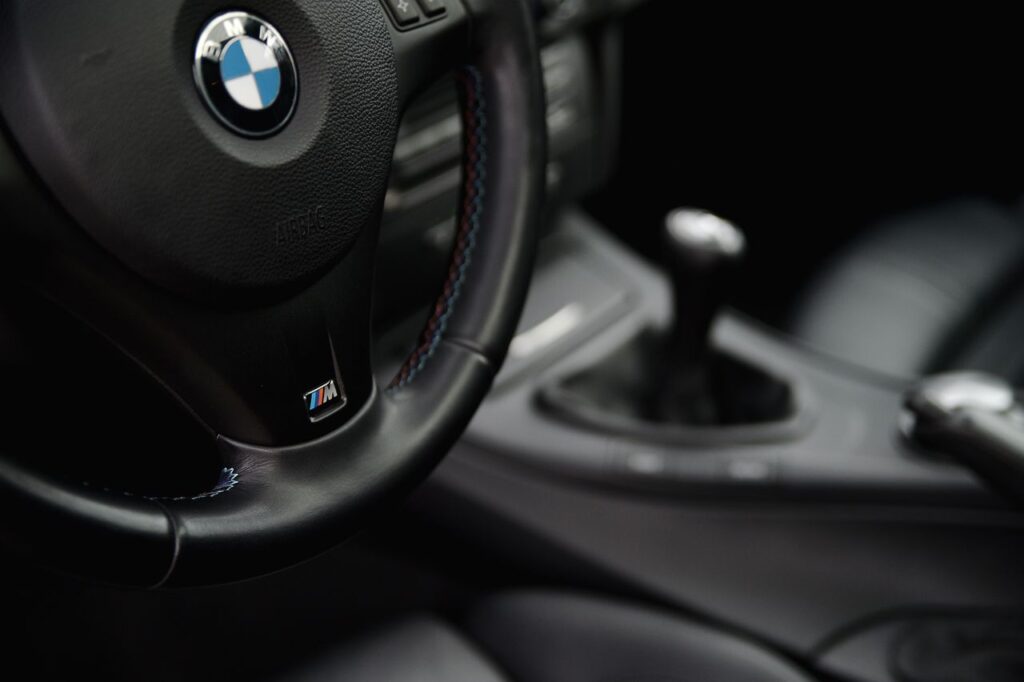
4. Take wide shots inside
When it comes to the vehicle’s interior, make sure the frame is wide. Don’t photograph the steering wheel itself, but the entire board. Not a single seat, but the whole front of the cockpit.
If you don’t have enough space when sitting in the car and taking photos, just step out of the car and take a shot through the open window.

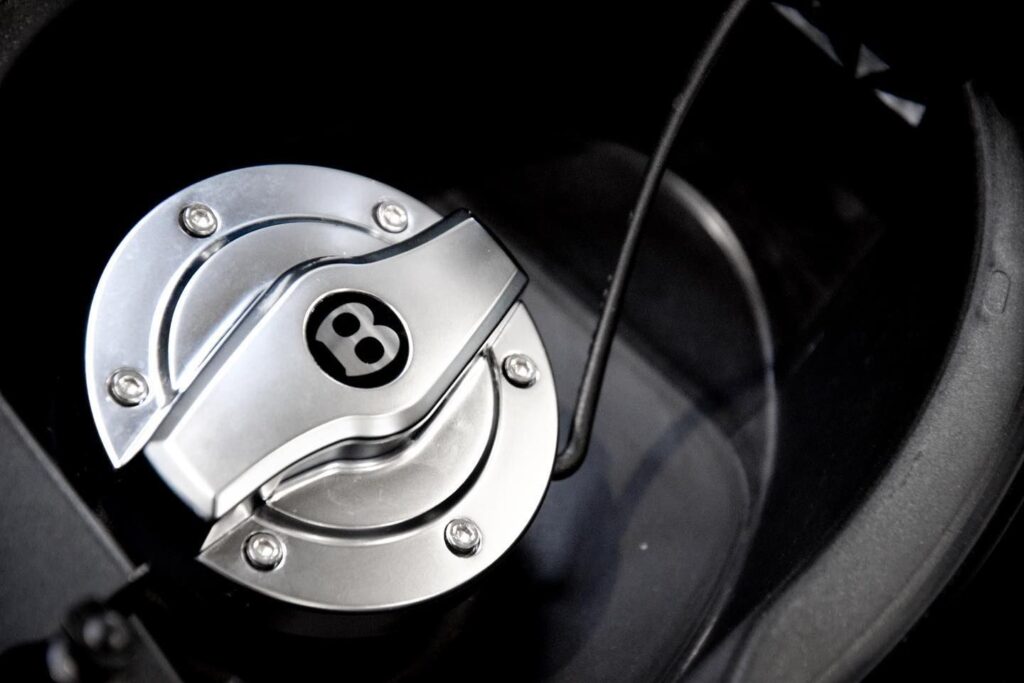
5. Capture the details
We wrote earlier not to cut the car while taking pictures. However, if it’s for the sake of capturing a specific element, then it is definitely worth it. In detailing photography, the devil is in the detail.
Elements such as displays, hand-sewn seats or steering wheel, gear knob, or wooden panels make a unique impression when freshly detailed. The same applies to the details on the car’s exterior: hunt for exciting shots of the vents, exhaust pipe, or the emblem.
Important: Don’t forget about your company’s marketing materials! License plates, roll-ups, and foil or paper rugs branded with your logo will be a great addition to your photoshoot.
6. Camera vs smartphone
Should I use a professional camera, or is my smartphone enough?
The answer is: it depends. You should choose a professional camera for product sessions, photos for a website, or shootings of your flagship projects to advertise the studio. You want to make sure that you maximize the potential of your work.
Your phone’s camera, however, will work well for daily, casual shootings. A quick report on what you’re working on? Just grab the phone and take a couple of Instagram-style pics.

A photo from a smartphone is perfect for a casual post on your social media profiles.
7. Take before and after photos
A freshly detailed car in the driveway looks great. Still, nothing shows the detailer’s work as nicely as comparing a shiny car to its condition before cleaning or polishing. The differences can be spectacular.
The best way to show this difference is “50/50”, which is half of the photo showing a clean and half of the dirty part of the vehicle. To quickly create it, take pictures of the same elements of the car from similar angles and distances.
8. Don’t overuse the filters
90% of the photographic success lies in the lighting and the composition. Therefore, focus on these aspects the most. The role of filters is to “enhance” what is good in the image, not to create a new reality.
Filters and playing with colors more often spoils than fixes a photo. In detailing photography, less is more, so focus on technicalities. The “effects” will appear on their own.
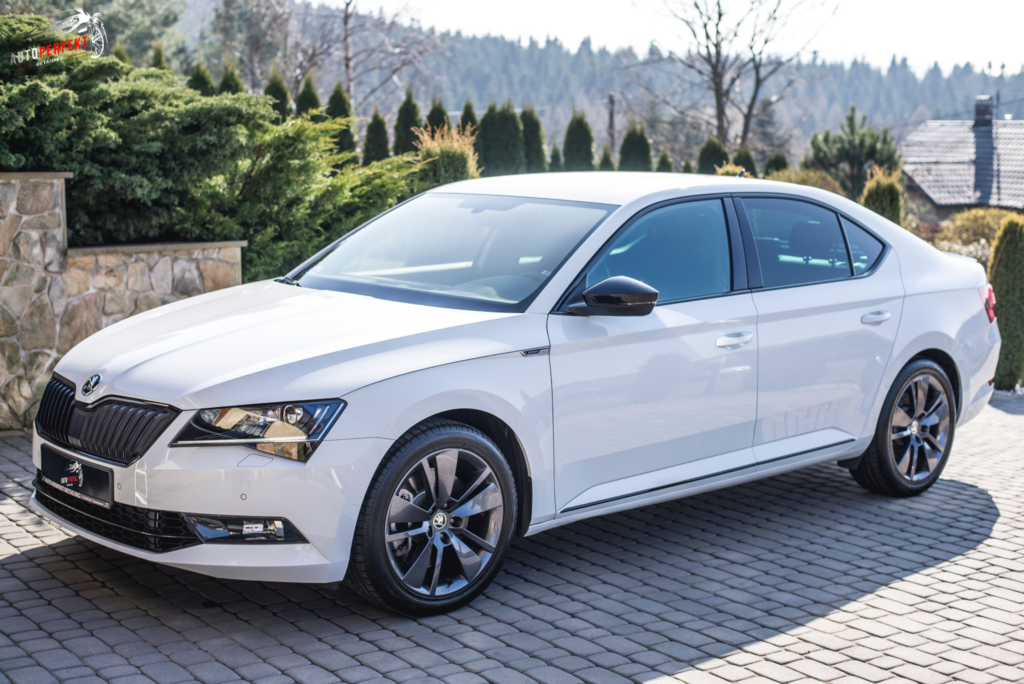
Excellent background, good light, well-thought-out frame. Filters unnecessary!
9. Choose quality over quantity
Photo reports, which consist of dozens of photos showing very similar car elements, signify our times. When you choose pictures you want to publish, select them carefully. One reasonable image is enough and will do a much better job than 5 similar and often almost the same photos.
This approach usually works for the best; there are fewer shots, but they reflect the car’s beauty better. For example: if you want to present 10 parts of the vehicle that have been detailed, 1 or 2 photos for each stage or element are enough.
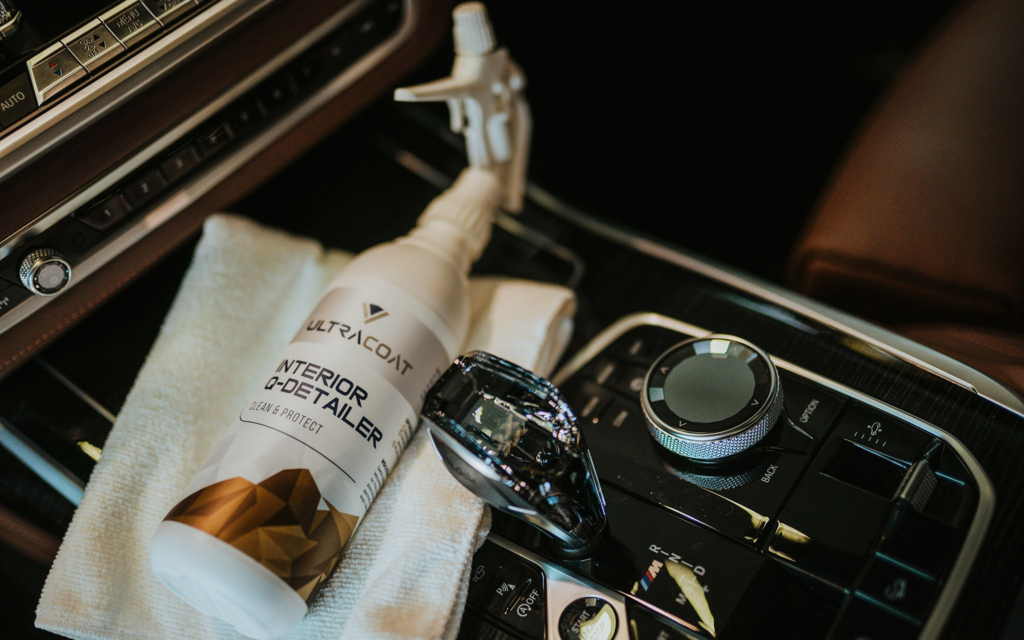
10. Take photos of your products and work in progress
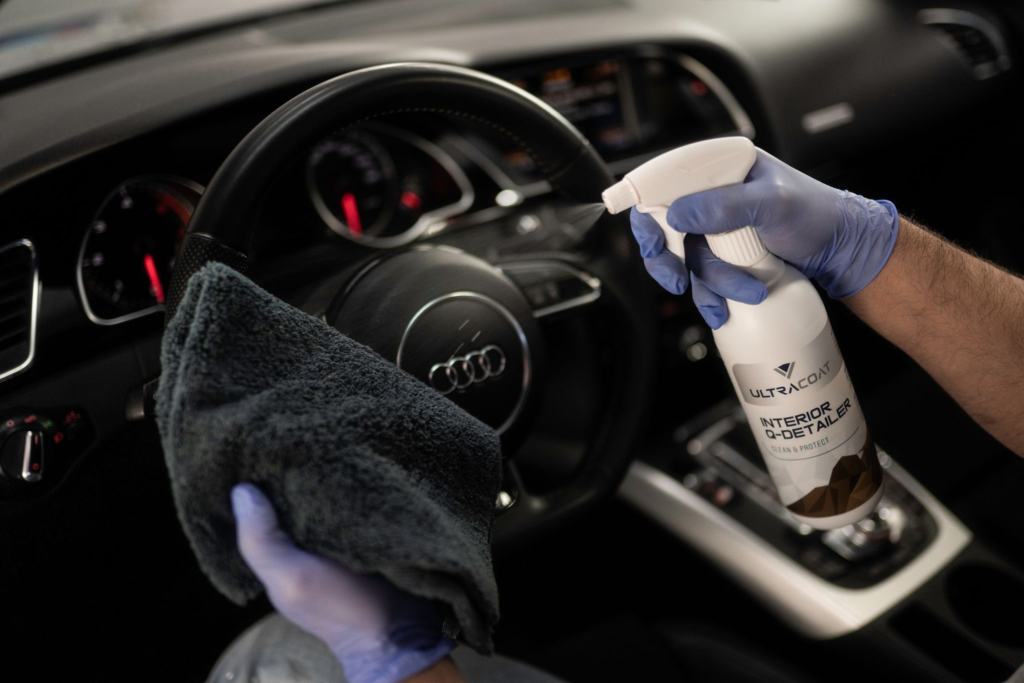
If you want to photograph detailing supplies, you can do it in several ways. The most popular is simply placing the product near the place that has been cleaned with it. You can, for example, place a leather upholstery impregnation product on a freshly impregnated seat. Or a detailing product for the interior next to a shiny steering wheel or gear stick.
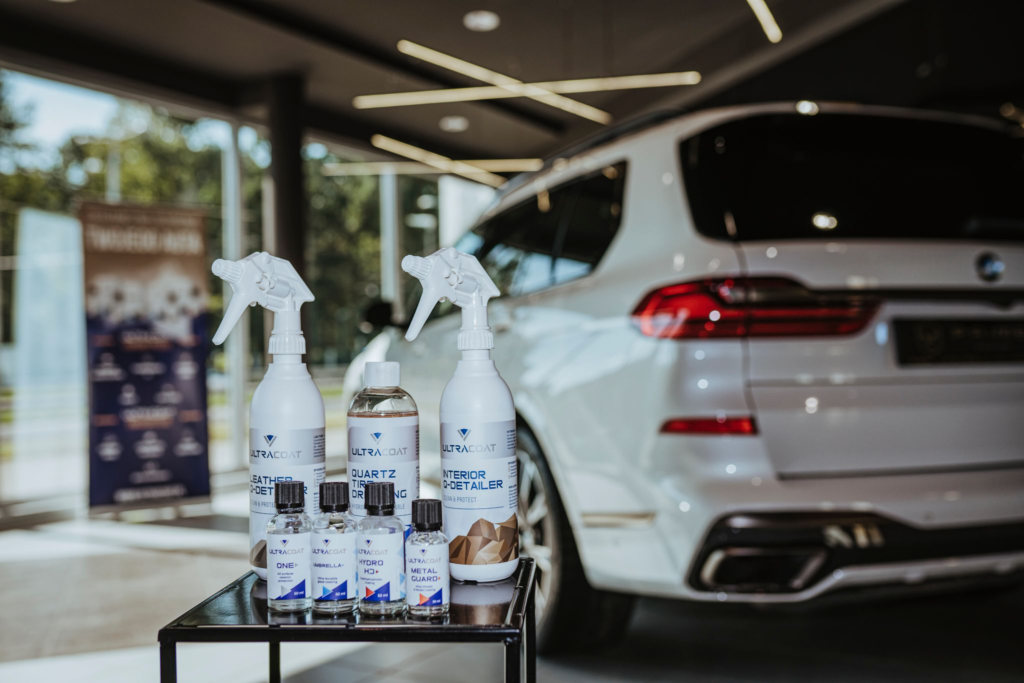
Another way is group photos. Just put a few products on the ground or on a shelf, and then the car in the background. Boom!
Yet another practice is to take photos with products in action. For example, you can try and catch the detailer red-handed spraying a car with certain cleaners.
When is the right time for a professional photographer?
We hope the above tips will help you capture your work in the best possible way. At the same time, we realize that detailing photography is complex, and reflections from the paint or taming the light have discouraged many newcomers from this field.
Nevertheless, we keep our fingers crossed for progress in your automotive photography. And when you feel that you lack nerves, time, or skill, we encourage you to use the services of a professional photographer.
And why not Damian DYMHA, who helped us create this piece of content. We warmly encourage you to check his portfolio and reach out to him for help. His works speak for themselves. 🙂
Are you interested in our products? Write to us!
Subscribe
0 Comments