

How to apply ceramic coating on rims?
Robert De Niro and Joe Pesci, Scottie Pippen and Michael Jordan, Robert Lewandowski and Thomas Müller… Do you know more iconic duos? We do. Beautiful paintwork and a shiny rim!
We have no doubts that one looks lame without the other, so after the guide on applying a ceramic coating to the body, it’s time for the rims.
Let’s ride!
Stage 1: Prepare the wheels and a place to work
There are several hours of work with chemicals ahead of you, so start with preparing protective measures. You will need gloves and a comfortable outfit covering your shoulders. You can also wear a face mask to avoid inhaling the fumes of the degreaser and the coating.
Rim coating application requires the removal of the wheels, so consider doing this before or after changing the wheels to summer/winter ones. Of course, a spacious garage that will allow you to maneuver freely throughout the process, and a support stand on which you put the wheel on, won’t hurt either.
Stage 2: Prepare the rim surface for the coating application
Like the car body, Rims are painted, and your job is to first prepare their surface to be covered with coating. Divide the process into 4 steps:
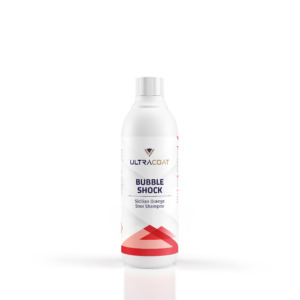
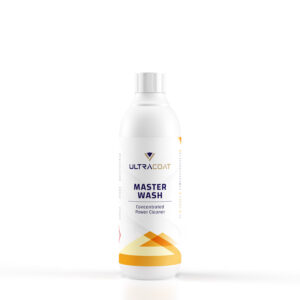
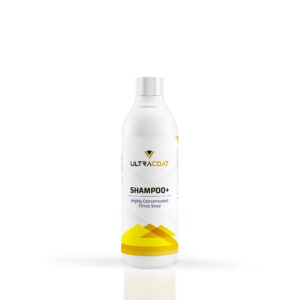
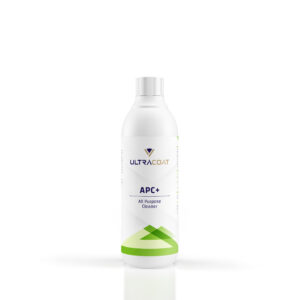
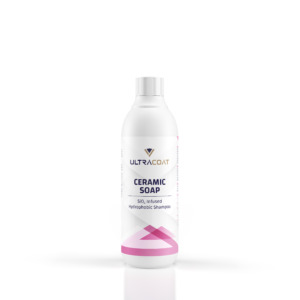
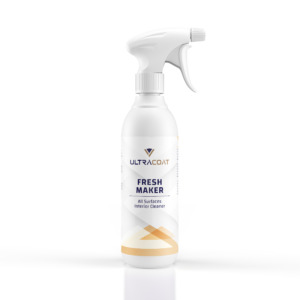
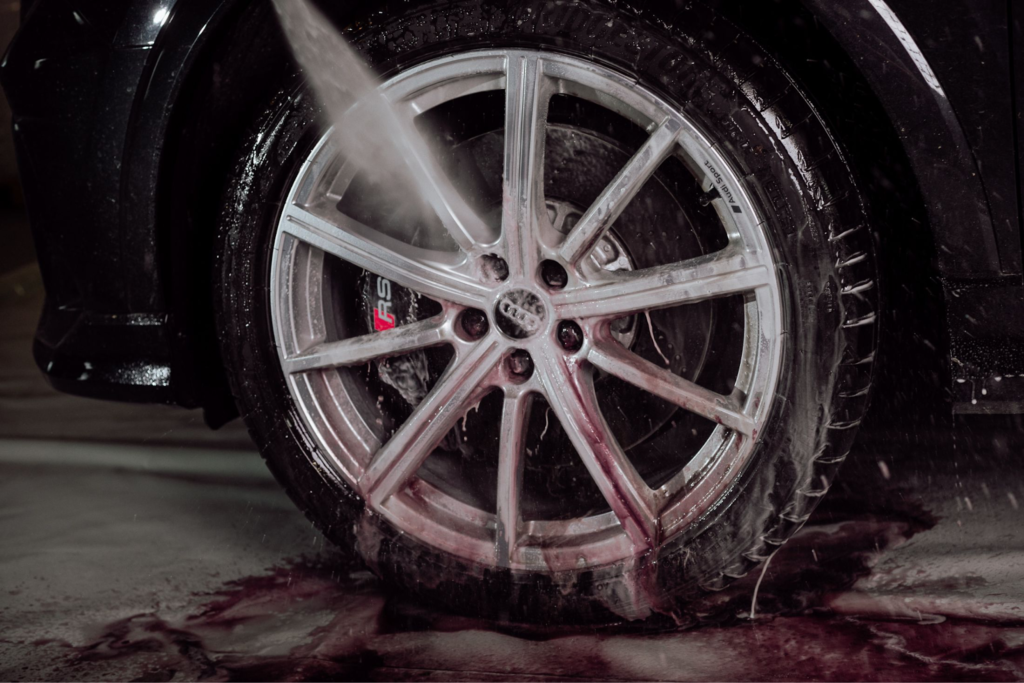
Start by washing the rim thoroughly. First, rinse the wheel and apply a cleaning product, such as Master Wash. You don’t need to spread it additionally; just rinse it under pressure after application. If the wheel’s surface isn’t spotless, you can additionally wash it with a shampoo solution.
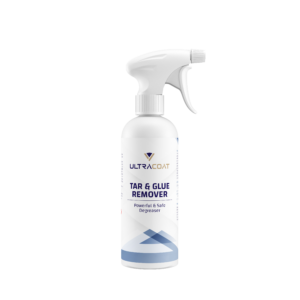
Some of the more difficult to remove dirt, such as glue or pieces of asphalt, will require decontamination. To do this:
- Spray the dirt with a tar and glue remover and wait a few minutes,
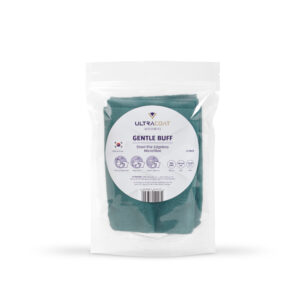
- Work these spots out with microfiber and rinse,
- If the dirt persists, repeat the process.
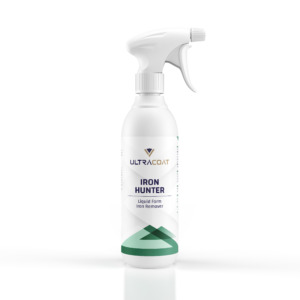
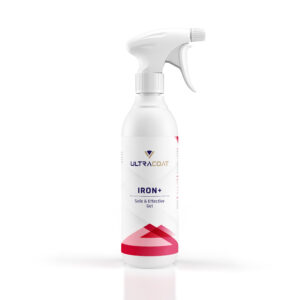
There may also be metallic remains on the wheel (caused by, e.g., brake pad filings). Use Iron + to remove them. Apply it to the rim surface from top to bottom and wait for the characteristic bleeding effect. Then spread the product over the dirt with a brush and rinse it under pressure. Finally, dry the wheel. Again – if there is still debris on the rims, repeat the entire process or use clay.
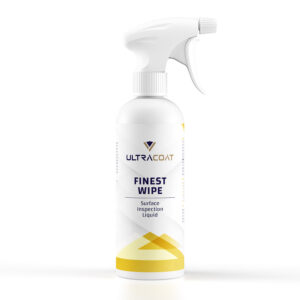
The last step is degreasing. Spray the metal surface and the microfiber with Finest Wipe and thoroughly wipe the rim. Wait for the chemicals to evaporate and repeat the whole process; double degreasing is recommended for rims.
After this step, you will be officially ready to apply the coating.
Step 3: Apply the ceramic coating to the rims
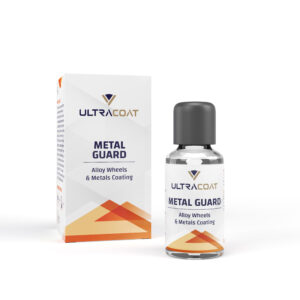
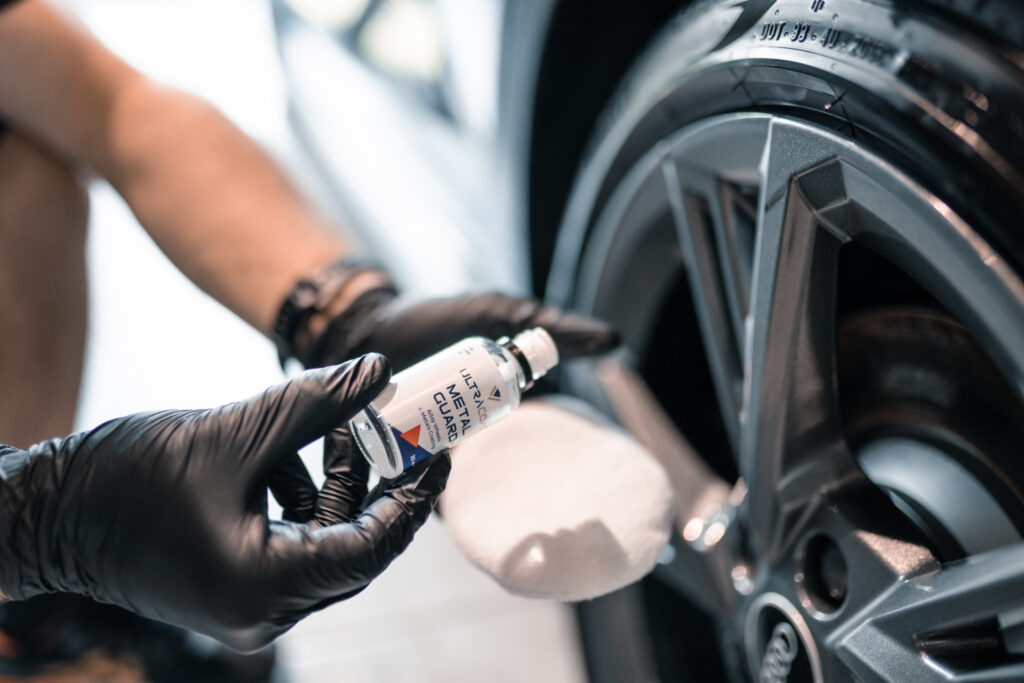
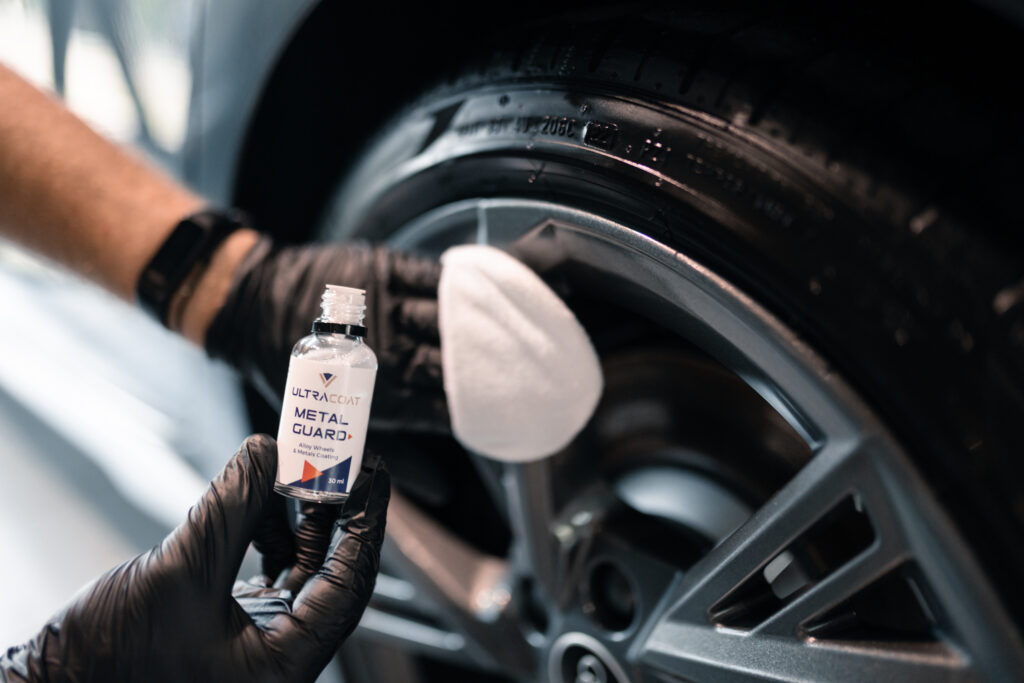
The Ultracoat Metal Guard coating, dedicated to surfaces exposed to high temperatures, will be perfect for rims. It also prevents the sticking of brake pad filings, asphalt, and other dirt that accumulates while driving.
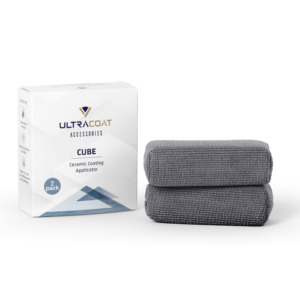
Shake the bottle, and then apply a few drops on the applicator. Spread the coating evenly over the entire rim. Do it exceptionally carefully and conscientiously. In the case of rims and Metal Guard coating, there should be no need for additional microfiber lapping the surface. However, if you notice imperfections and areas where the coating is irregularly applied, gently correct it by rubbing it in with an applicator or remove the excess with a cloth.
After completing the work, leave the rim at room temperature for the coating to combine with the rim.
Important: The higher the temperature in the room, the faster the product will dry and cure. The optimal condition is room temperature. The coating takes 24 hours to fully cure.
To further enhance the protective and visual properties, you can apply a second layer of coating. Then follow the same steps, skipping only the rim preparation stage. For the best effect, you can use the next coating layer just a few moments after applying the first one.
After work, be sure to take a photo of the rims and send them to us at biuro@ultracoat.pl. We are happy to share our readers’ work with the world!
Are you interested in our products? Write to us!
Subscribe
0 Comments